Category: Articles
-

The End Of The Antique Season?!
Gosh, this week has flown by! I spent the week helping my folks, aka Antiquips, of No Egrets Antiques, with their latest estate sale. It was a very large estate, just full of Asian art & decor — including this set of vintage Bronzeware flatware. (Yes, flatware comes in bronze!) It was amazing how much…
-
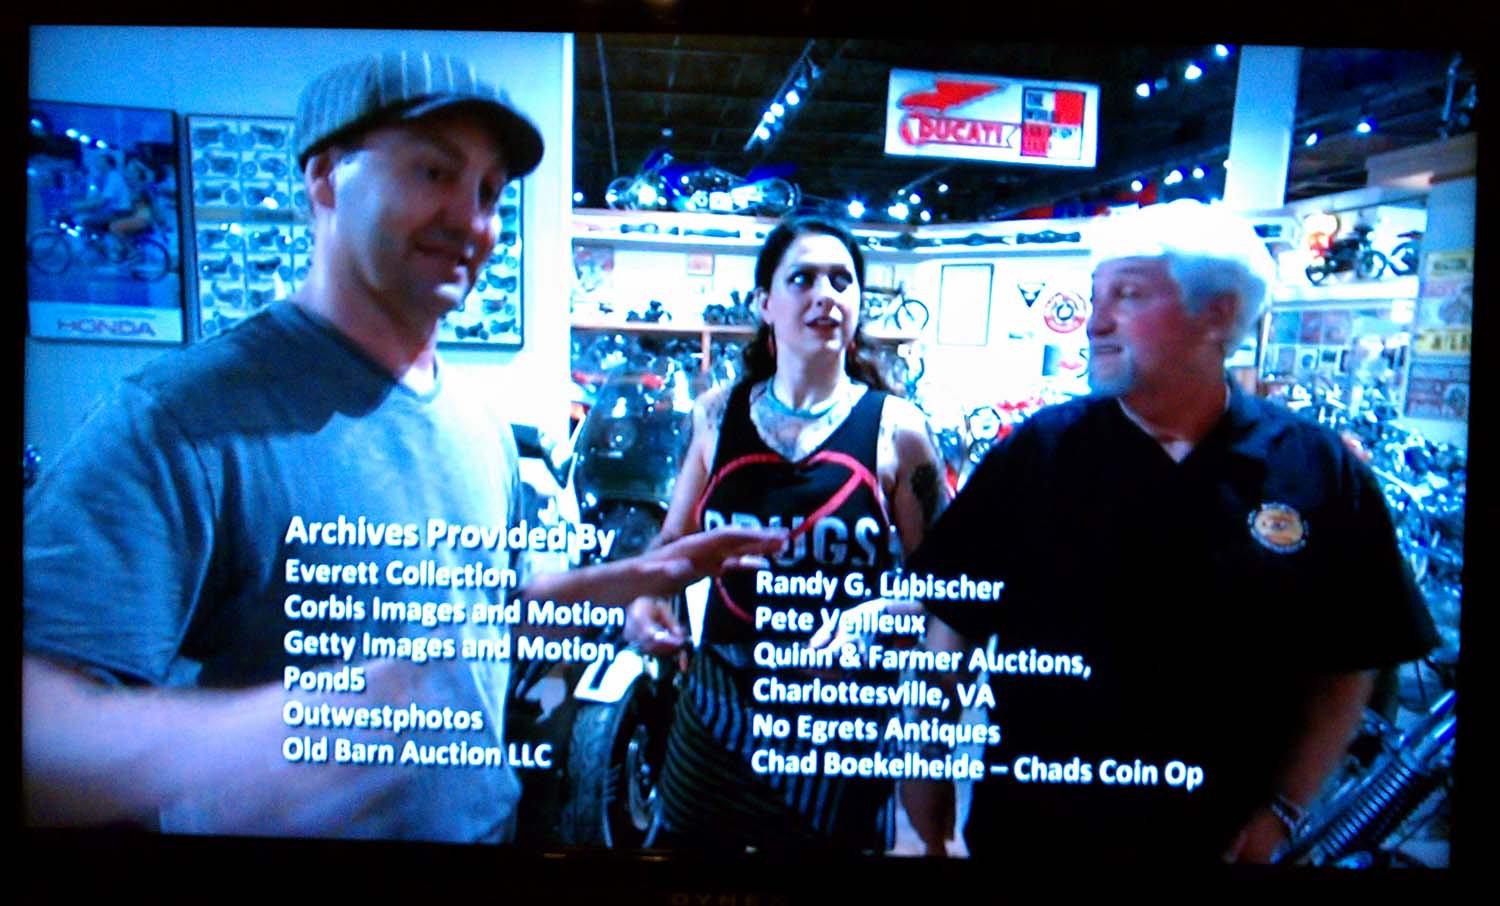
All In The Family — Of Antique Dealers!
My parents, of No Egrets Antiques, were credited on this week’s episode of American Pickers on the History Channel! Their name appeared in the credits as part of the “Archives Provided By” team of experts, which meant they had helped Mike, Frank, and the crew with some research and photographs used on the show. The…
-
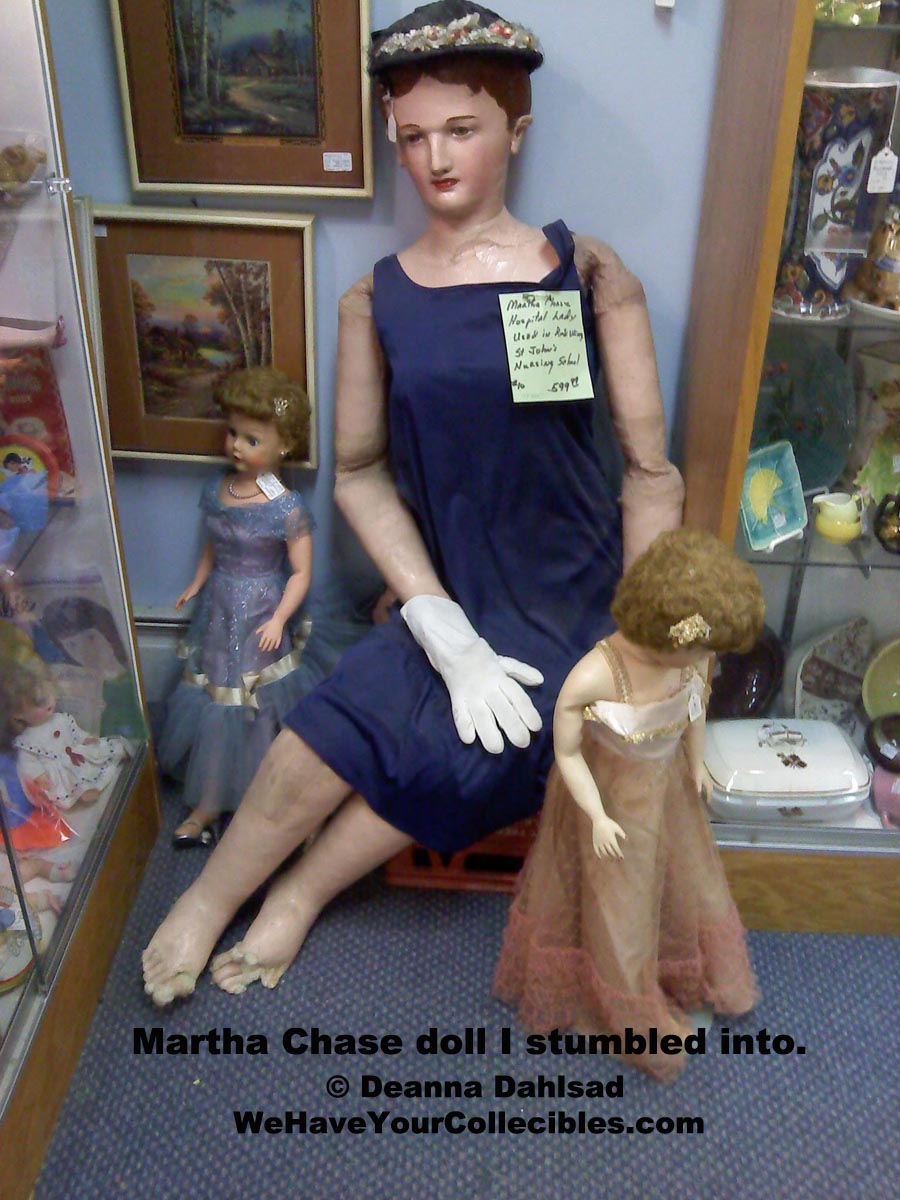
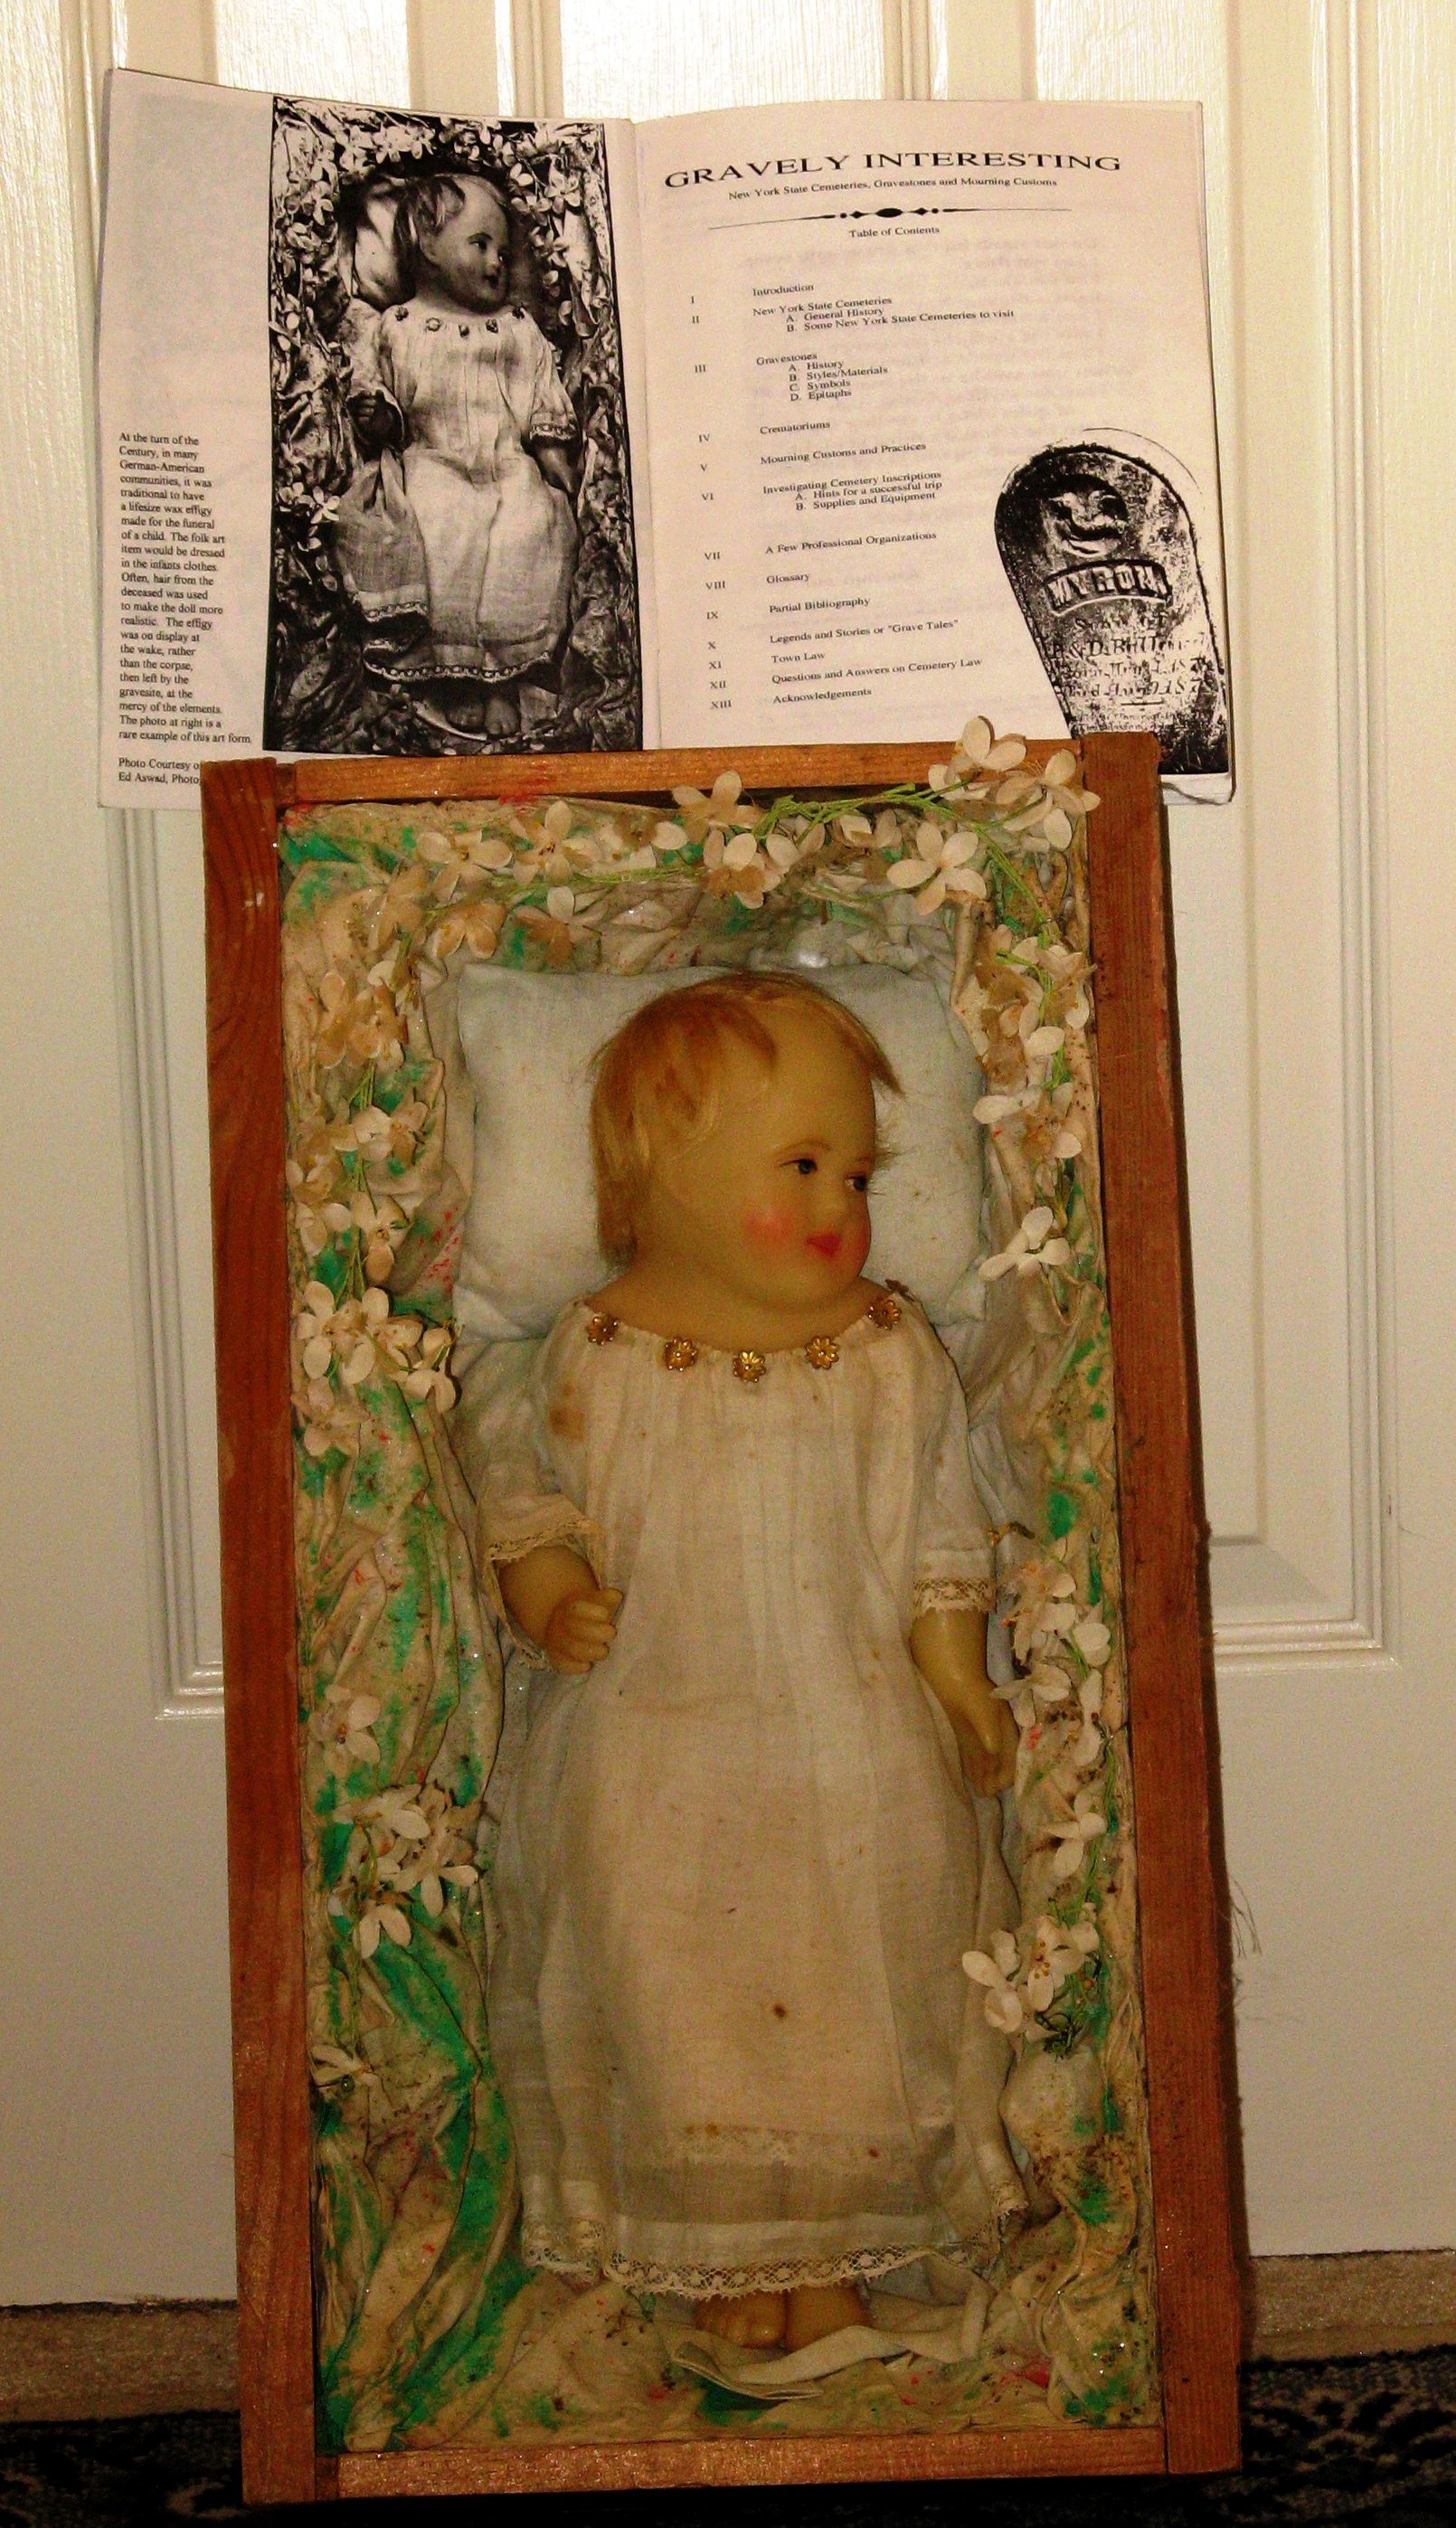
Educational Doll Articles
Just finished my doll articles for the Dolls By Diane newsletter. This time, I write about a large doll I literally was shocked to find — Slumped like that on the floor, I thought she was a person at first! She’s an old Martha Chase doll; but to find out more you’ll need to read…
-
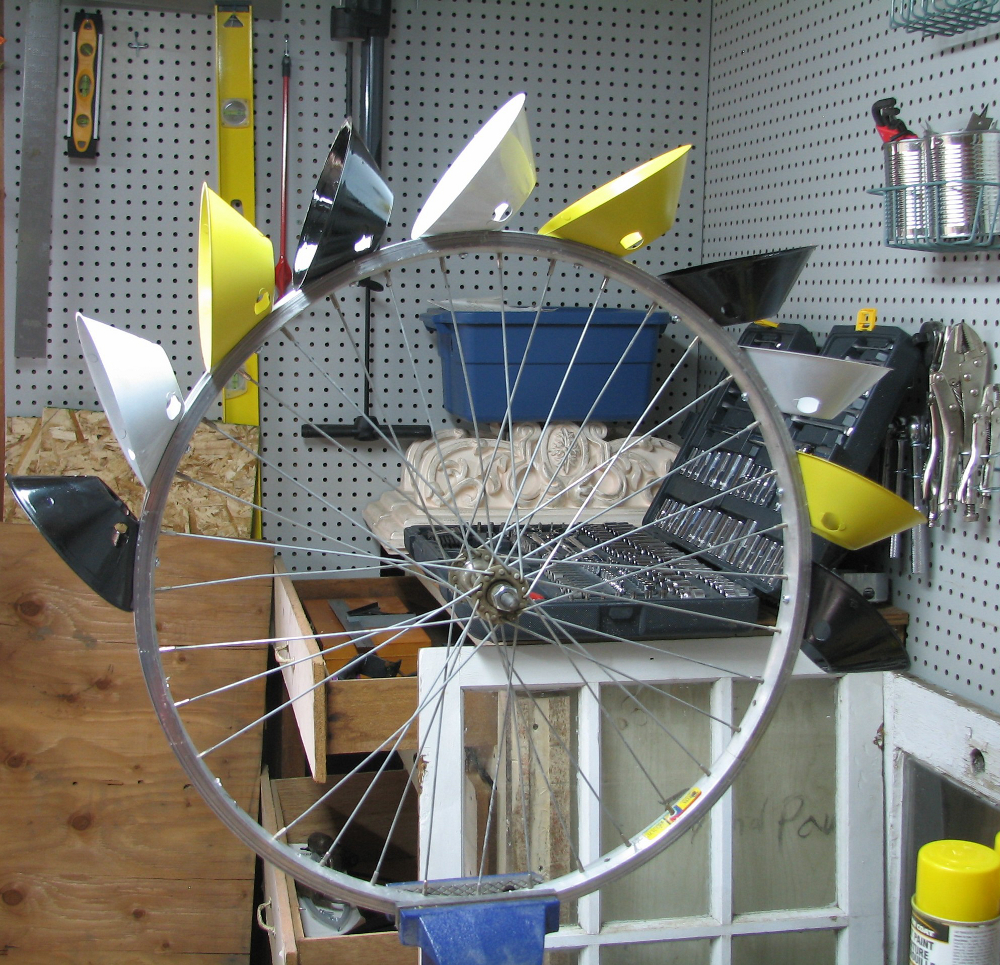
The Whirligig Project
Early in May, we sold a bunch (but not all) of our old dairy cream separator funnels or cones in our Etsy shop to a lady in Medicine Hat, Alberta, Canada. The lady was Kat, called “Kat in the Hat” (she’s from Medicine Hat, remember — isn’t that cute?!), and she had a project idea…
-
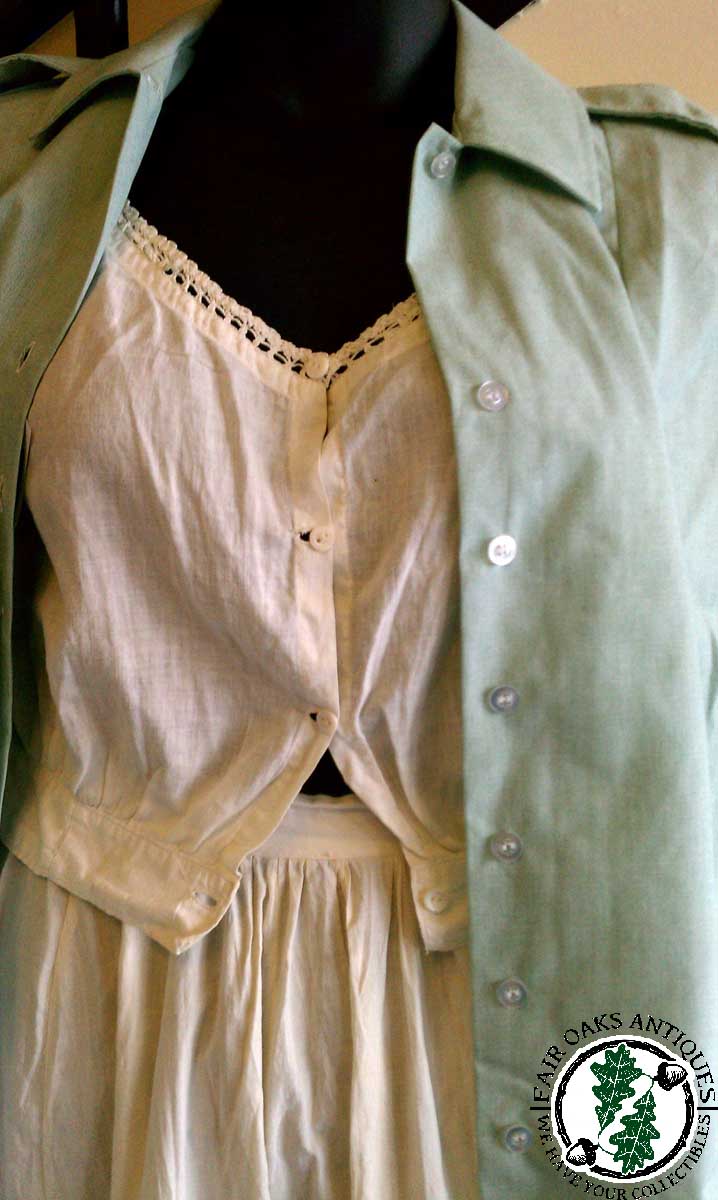
Authentic Prairie Style With Vintage Fashions
Few things say “prairie fashion” like the ruffled petticoats made of cotton muslin. They are especially romantic when trimmed with eyelet and lace — and paired with other Victorian underthings, like corset covers and camisoles. But when I placed these pieces on the rack at the shop, next to our selection of vintage military fatigues…
-

April Showers Bring Long May Hours For Antique Dealers!
It’s only the half-way mark, and yet this month has been exhausting! Last week, we went picking — everyday. It was the annual “garbage week” here in Fargo, and you wouldn’t believe the stuff some people toss out! This is one week that proves one person’s trash is another person’s treasure. (Of course, not all…
-
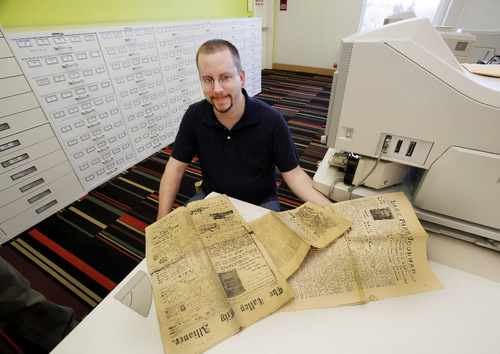
Dealers Make News!
Derek Dahlsad, the hubby half of Fair Oaks Antiques / We Have Your Collectibles, was just featured in today’s Fargo Forum — on the front page, no less! The article features Derek’s Dakota Death Trip blog. The site was inspired by and named after Michael Lesy’s Wisconsin Death Trip, one of my favorite books (and…
-
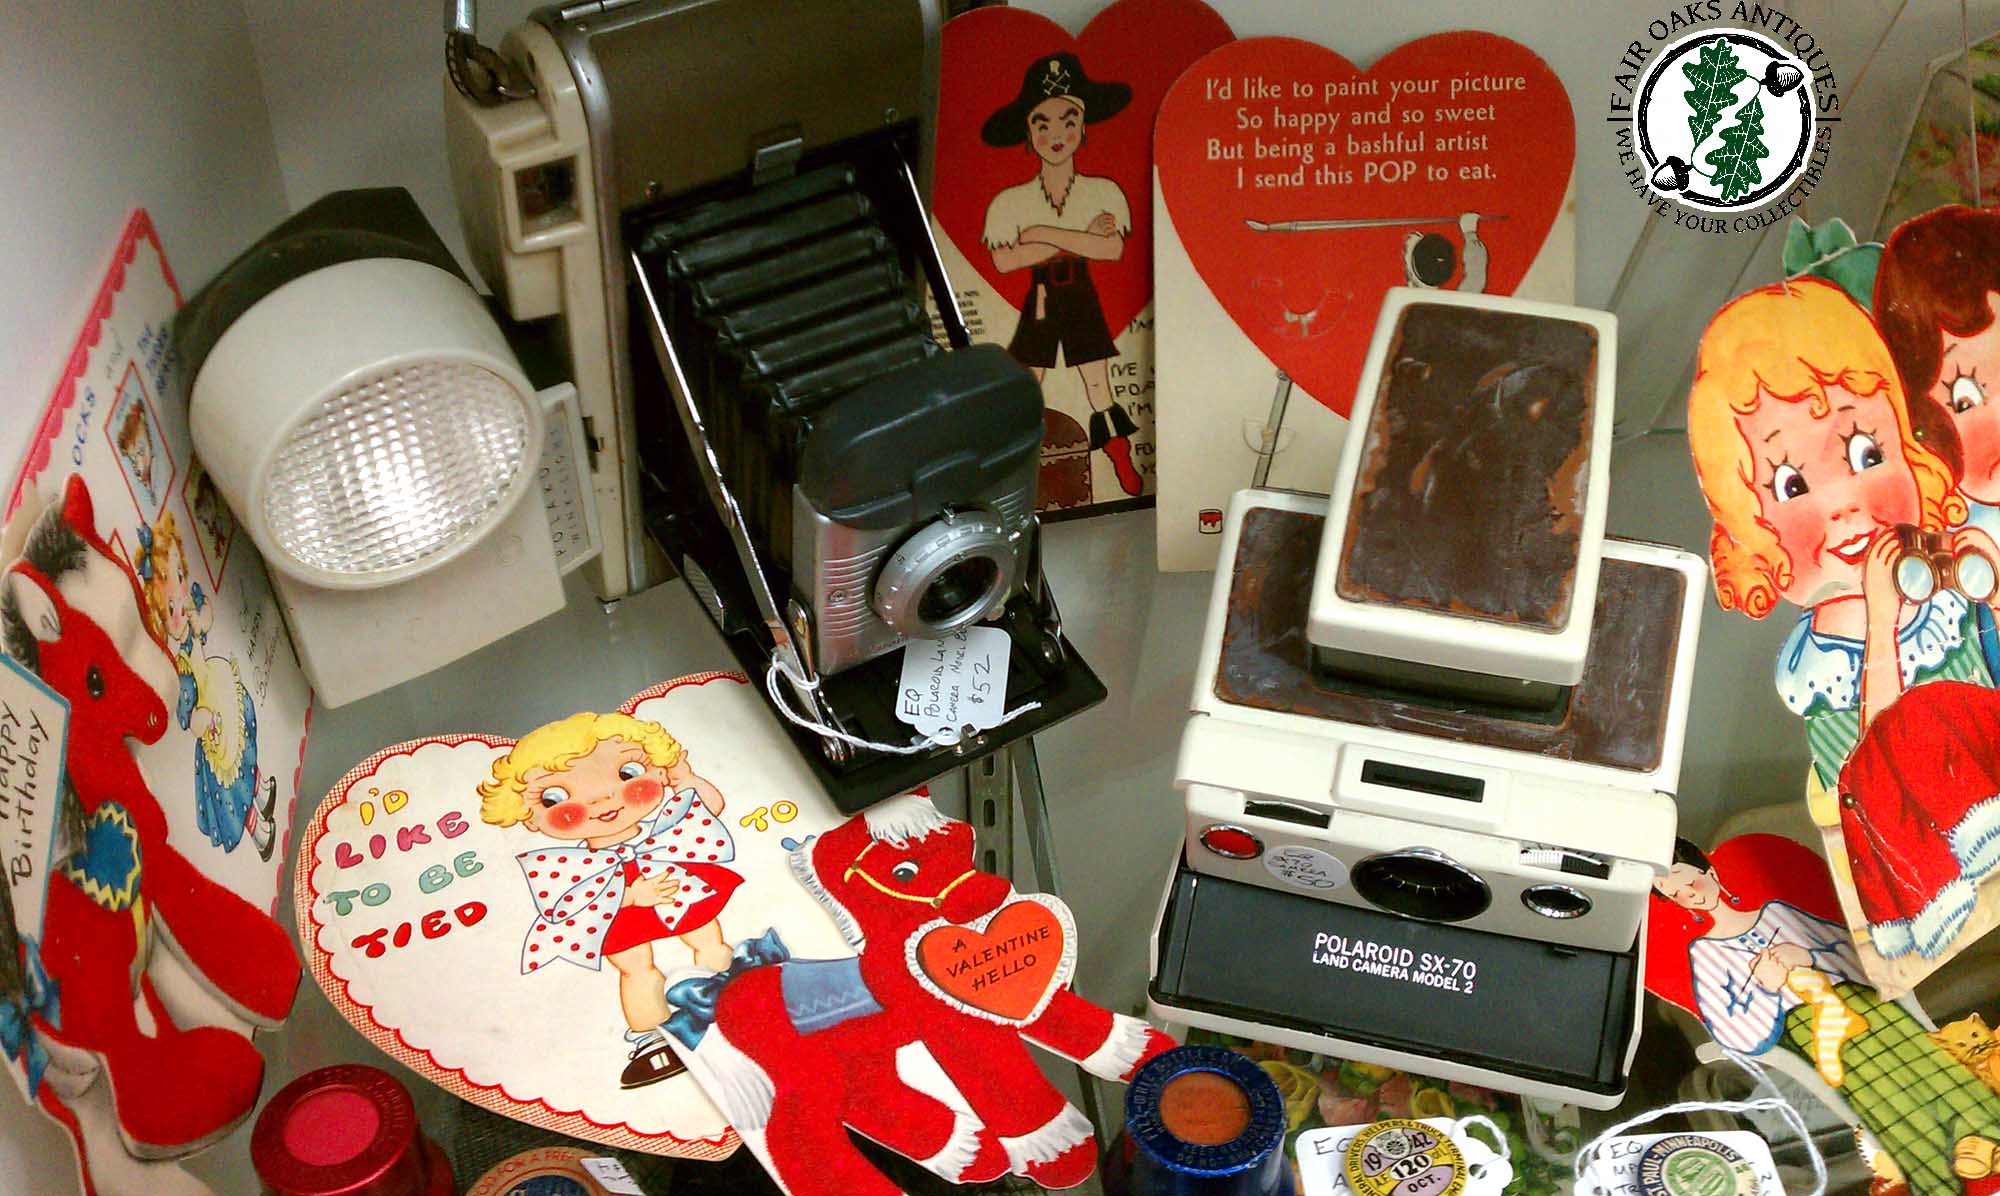
Celebrating Valentine’s Day With Romantic Antiques
Along with our booth space at Exit 55 Antiques we have a shelf in one of the cases near the wrap desk. For the holiday, we filled it with vintage valentines, antique candy boxes, vintage cameras, and a few other bits and bobs… Here are two of the antique mechanical valentines in action! We also…
-
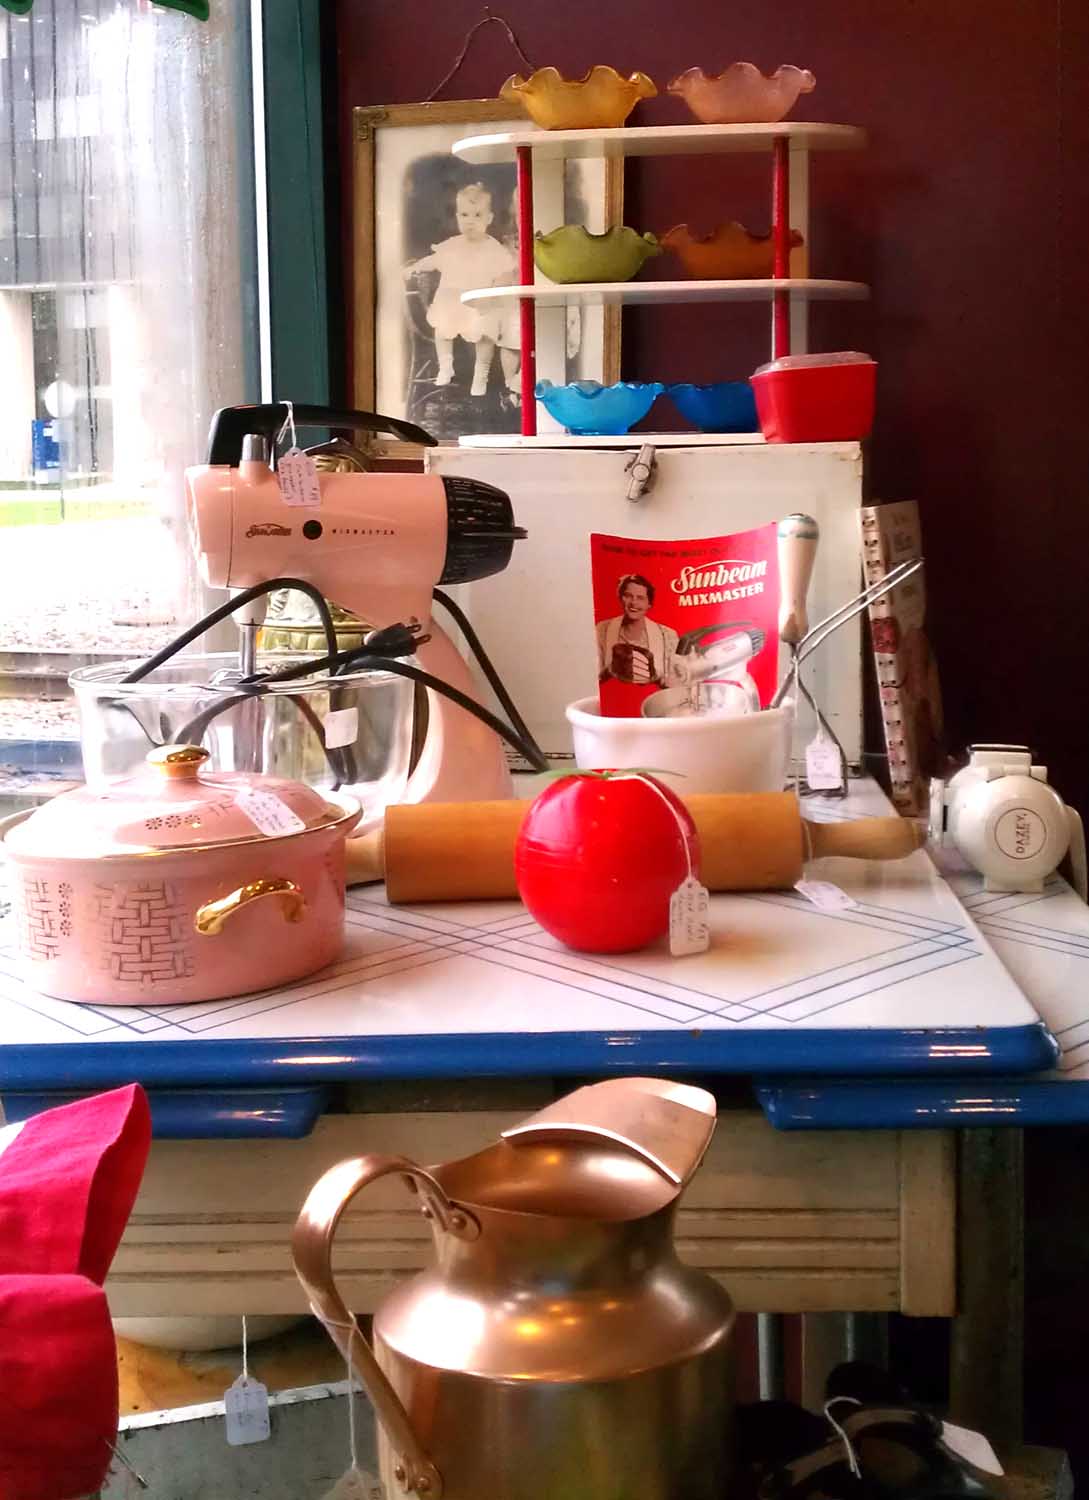
December News For Fair Oaks Antiques
A few weeks ago, we changed our window display at Antiques On Broadway (from the back to school theme) to reflect the seasonal changes. Now the window features items to create a vintage and nostalgic holiday season, with a heavy emphasis on the kitchen, cooking, and baking. (Because no matter which holidays you celebrate, food…
-
Halloween & Other Collectibles Articles For October
I’ve been busy with articles again this month, including Collecting Halloween: The history of Halloween postcards and costumes at Collector Perspectives. UPDATE: Article is now here. I’ve also written a four-part series on Sewing Pattern History: Part One, Part Two, Part Three, Part Four. Meeting in the middle, there’s also a brief note on antique…