Category: Articles
-

Fair Oaks Antiques In The Media – Again 😉
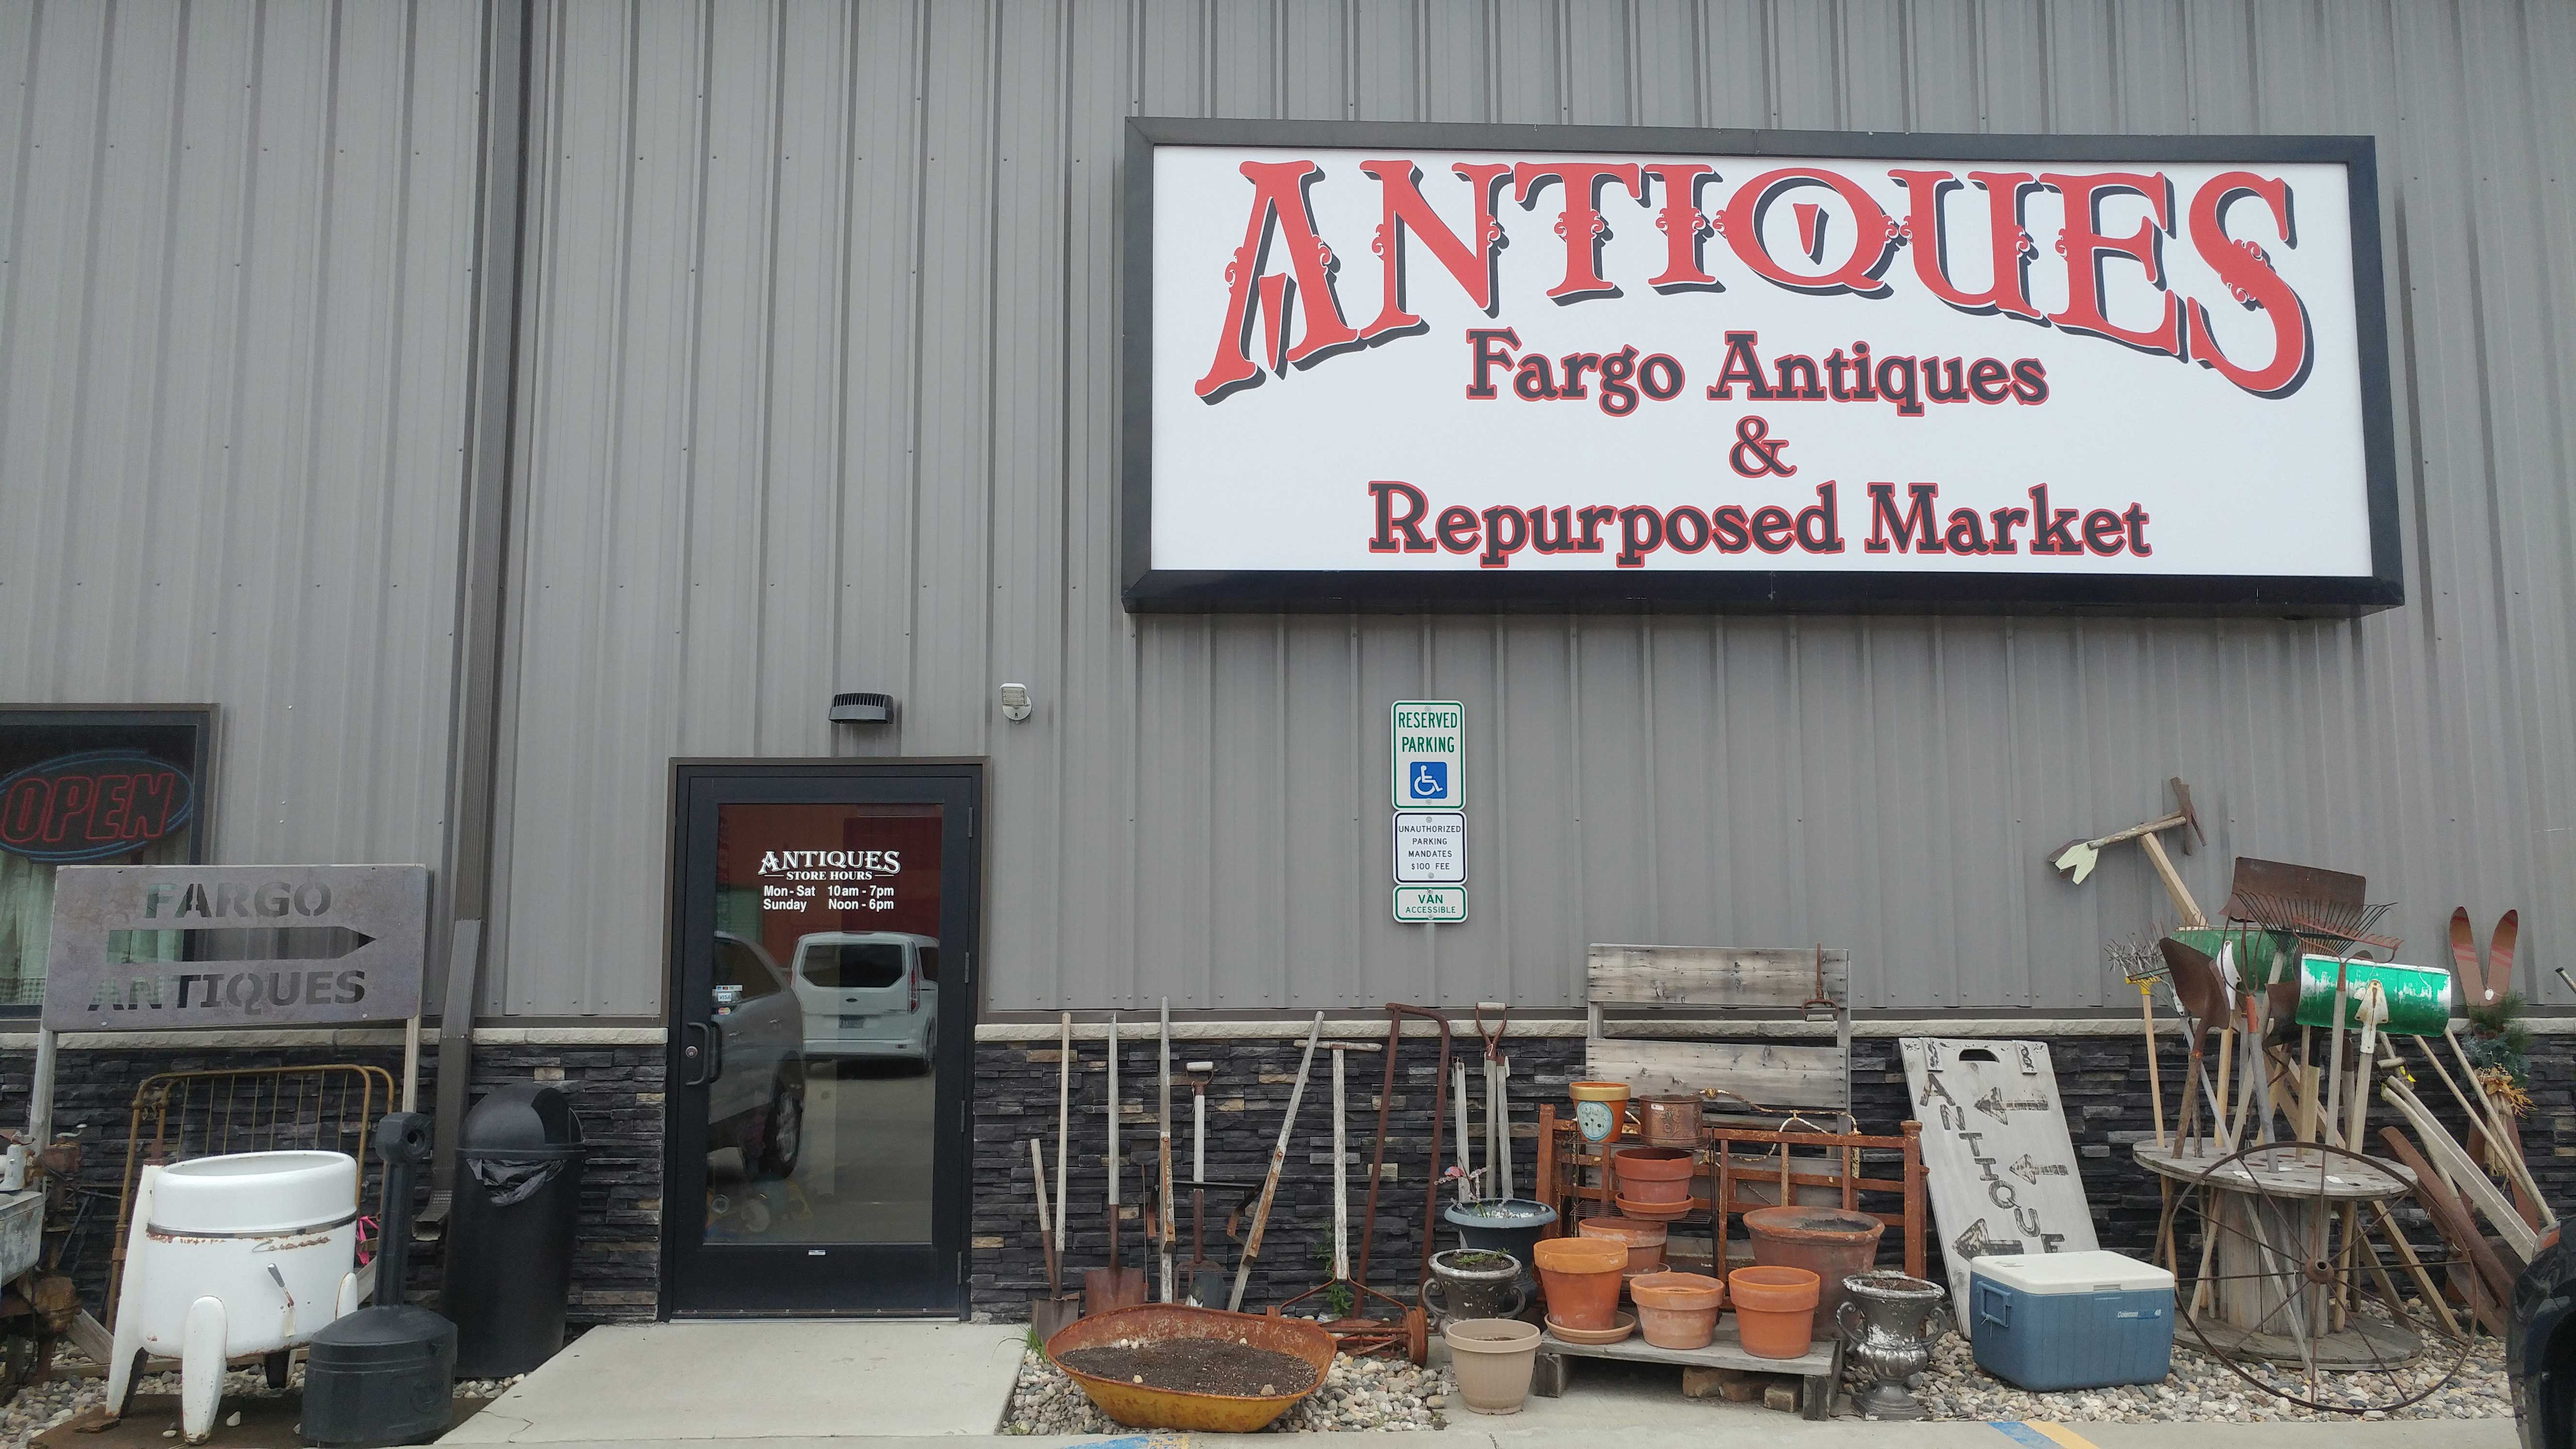
In case you missed our social media posts, Fair Oaks Antiques (that’s us!) has had a busy day in the media today! First, the wifey was quoted in an Inforum story about Fargo Antiques & Repurposed Market, aka “The FARM,” entering its fifth year of business and branching out with events. Deanna Dahlsad, a vendor…
-
What’s New? So Much!
If you’ve been keeping up with us at Facebook, you may have noticed that we’ve been quite busy. One highlight, hubby Derek has written for Prairie Public’s Dakota Datebook radio show – & five of his stories have been selected for the newly released book, Dakota Datebook: North Dakota Stories from Prairie Public. If you…
-
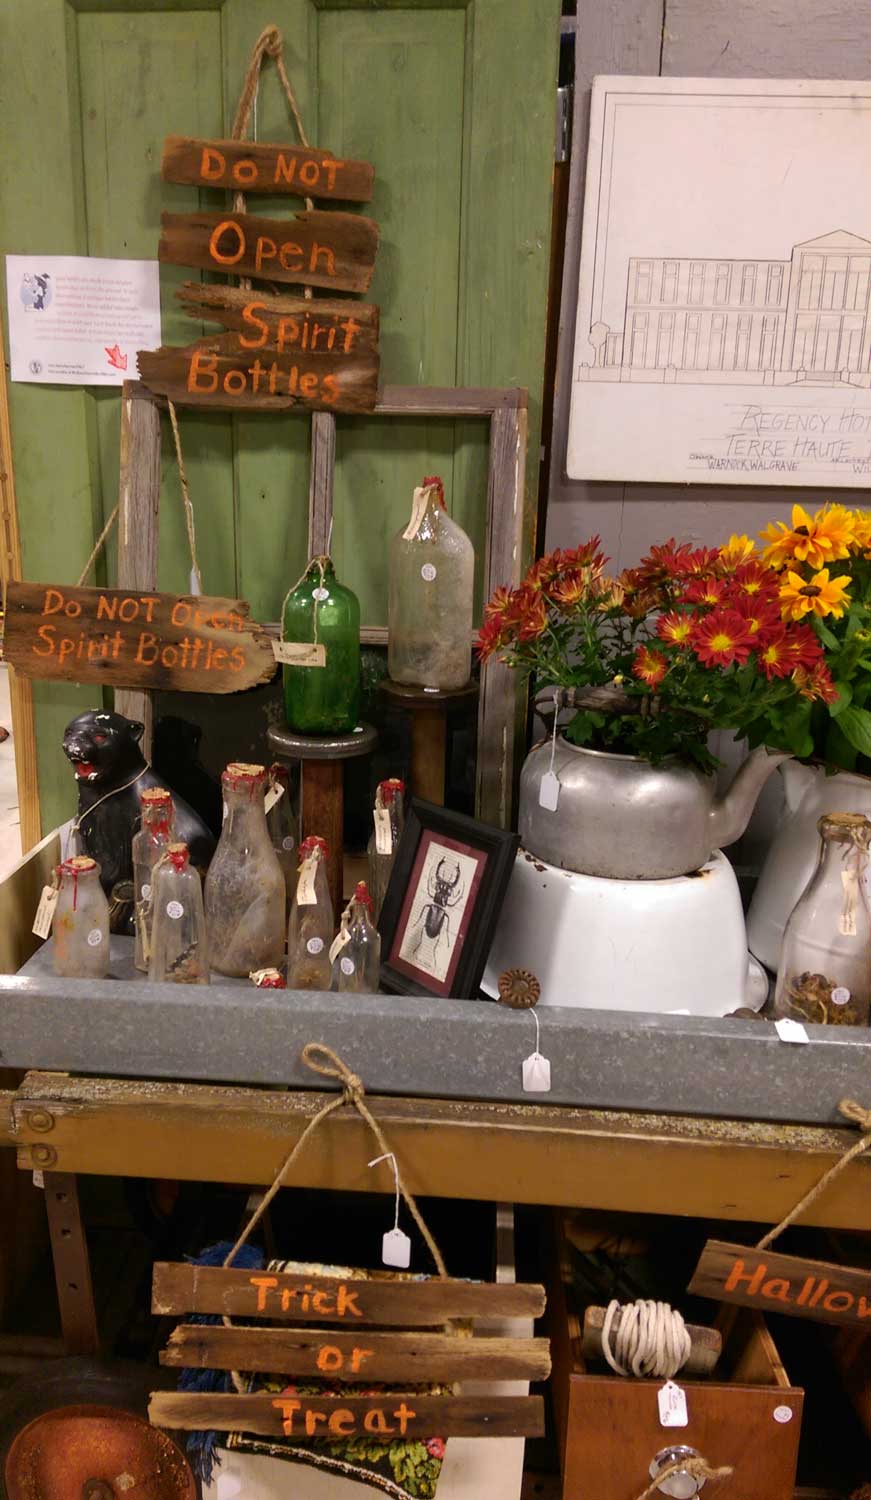
Really Spooky Spirit Bottles!
‘Tis the season for spirit bottles! Our spirit bottles are made from old glass bottles dug up from the ground. As such, these vintage & antique bottles have imperfections. We’ve added some magic to them, and used them to entrap evil spirits — then sealed them in with wax. Each bottle has its own spirit,…
-
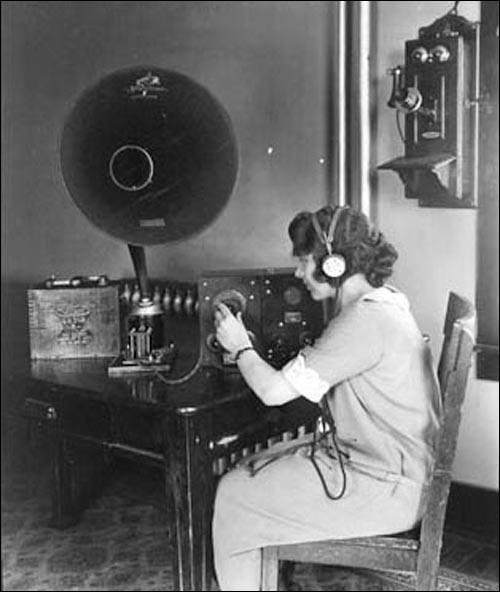
Dakota Death Trip On The Radio!
Yesterday, hubby was once again in the media for his Dakota Death Trip website. This time, Derek was at Fargo’s KFGO speaking with Bob Harris about the website and stories of yesteryear. Here’s a link to the short, but splendid, interview!
-

Vintage Creativity Featured In Fargo Monthly
Our little Etsy shop, Kindness Of Strangers, which focuses on vintage and retro craft kits, DIY supplies, how to books, and other crestive things was recently featured in Fargo Monthly!
-
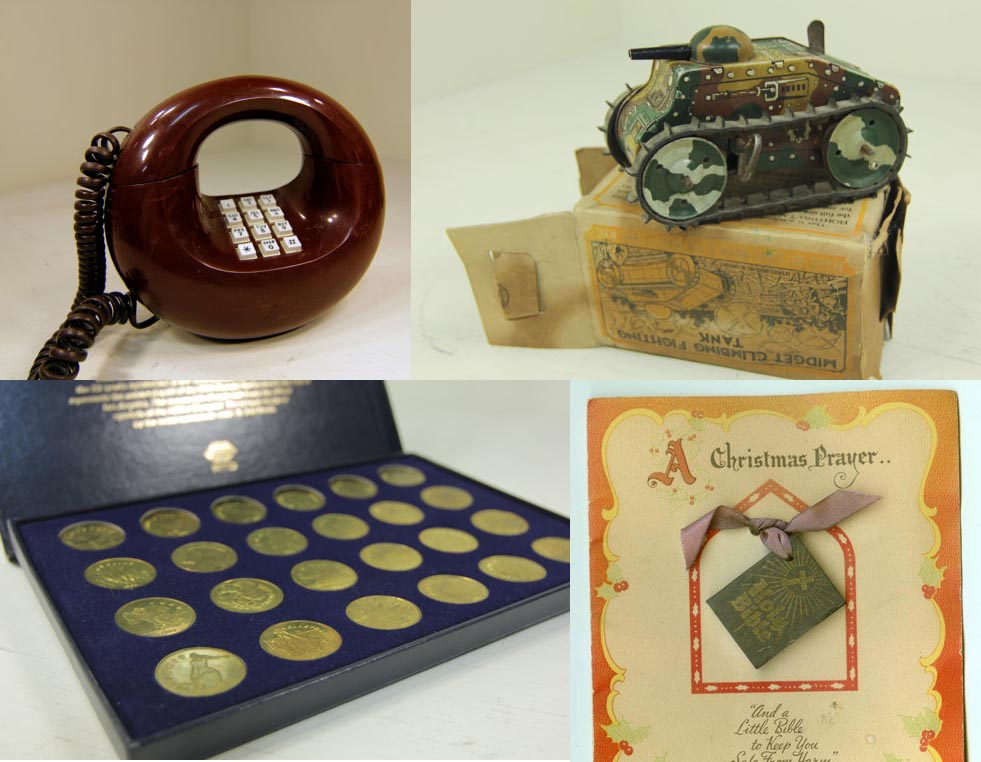
Recent Offerings In Vintage Collectibles
Sometimes I don’t think we talk enough about the cool things we have in our Etsy shop… So it’s time to highlight some of the items recently listed in our Etsy shop, including additional information about them. We have a fabulous retro mod Sculptura telephone (aka the “doughnut phone”) listed for sale — just like…
-
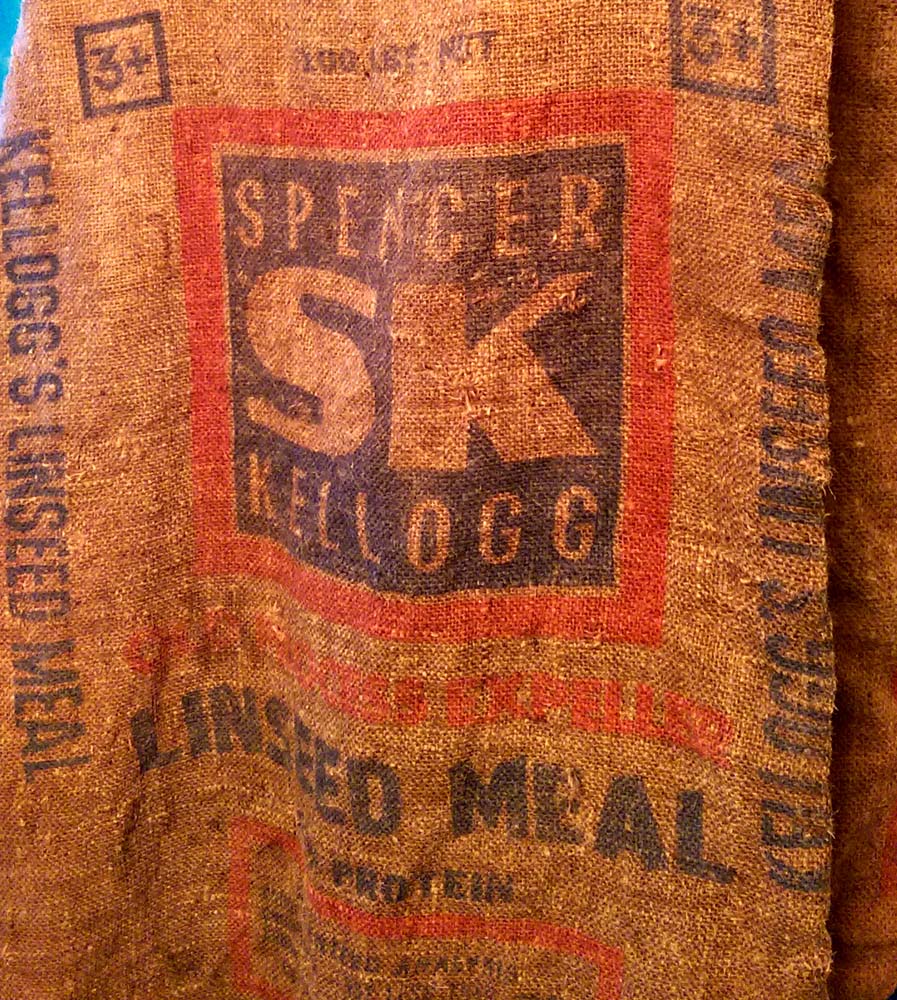
How I Spent My Afternoon: Cleaning Old Feed Sacks (A “How To” Guide!)
As noted before, “farm fresh” is often an oxymoron. Things found in barns are usually anything but fresh. Today’s example, a number of old feed sacks — burlap feed sacks, to be precise. While the graphics can be real beauties, they lie beneath layers & clumps of stuff that is not so beautiful and smells…
-
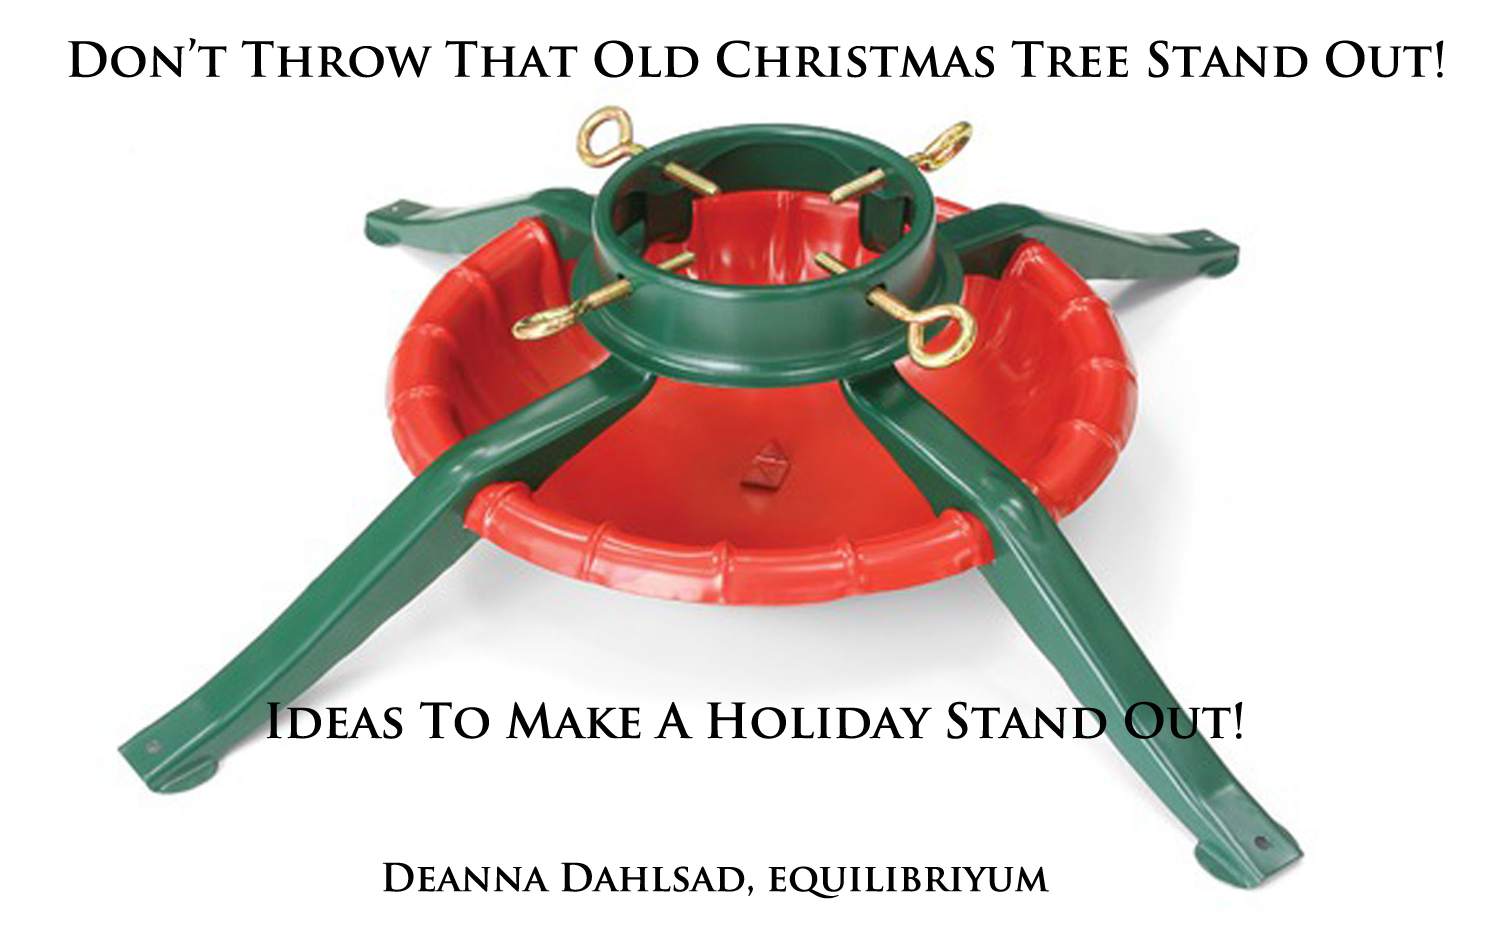
Reuse & Repurpose With Style!
I’ve been busy writing a lot of eBay Guides — my most recent one was inspired by this vintage Christmas tree stand my folks have for sale. I just knew it should be reborn and repurposed as a decorative piece! Other cool ideas and inspiration in that post comes from Laurel of Chipping With Charm.…
-
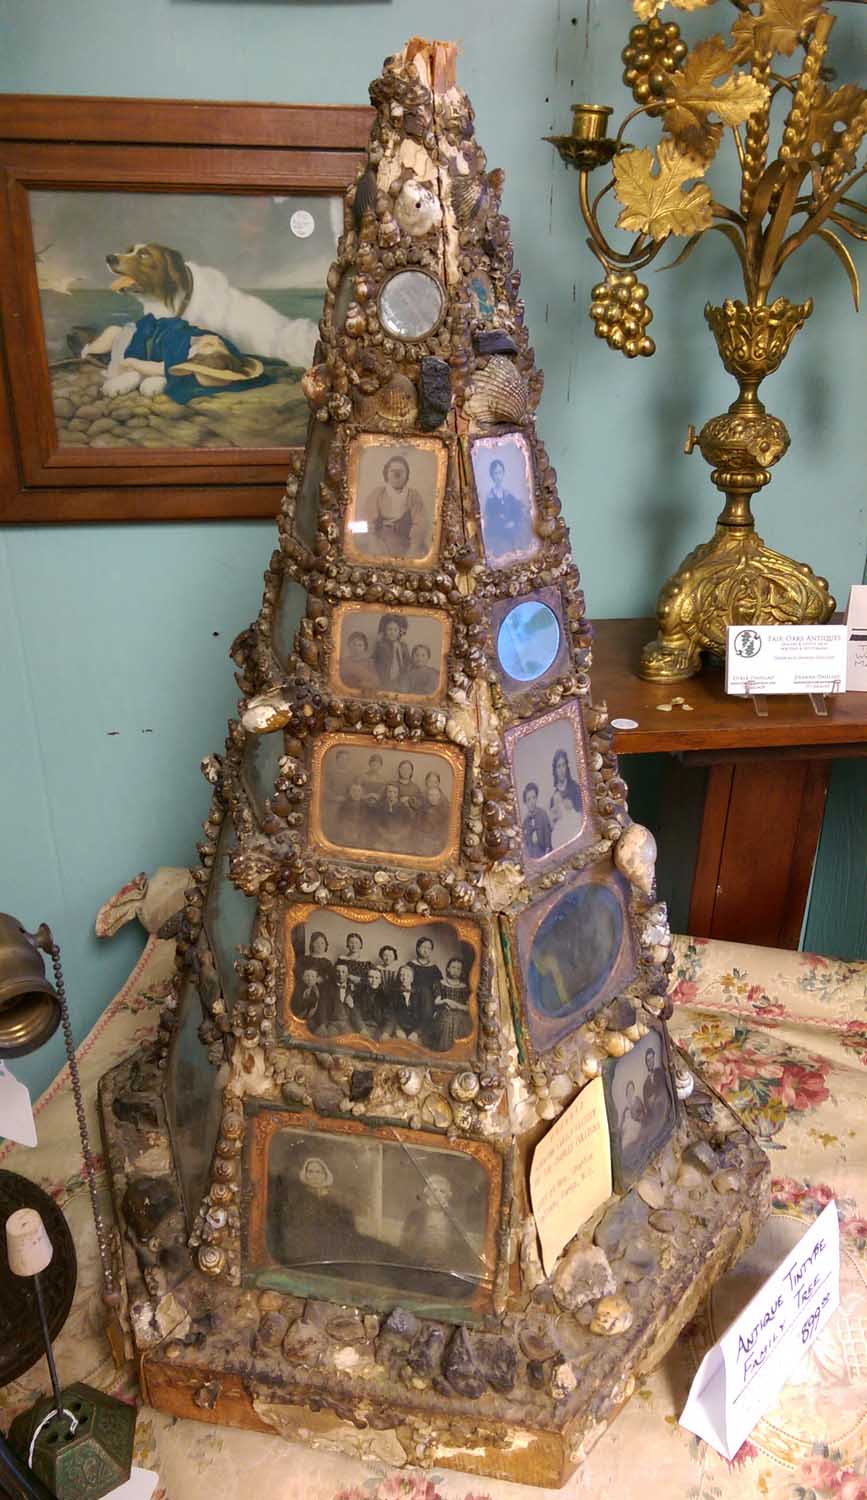
A Rare Antique Folk Art Find: A Family Tree Made Of Tintypes
A few weeks ago, my husband & I attended an auction at the Cass Country Historical Society. The museum was deaccessioning hundreds of items in order to raise funds to replace the historic St. John’s Lutheran Church which had suffered too much damage from a fire. On one trailer full of guns & ammo, I…
-
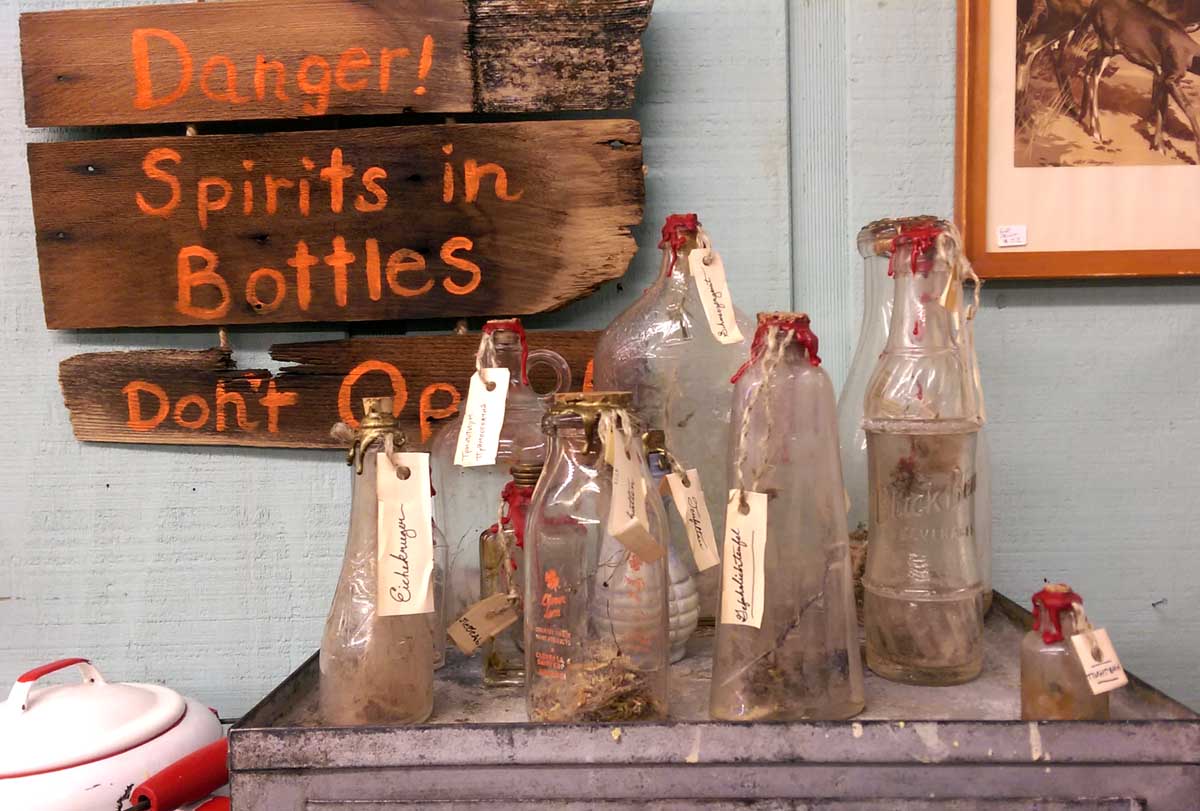
Making Spirit Bottles
There are many stories and legends about trapping spirits or imps in bottles, and they are especially fun to make and display at holiday time. When you see these, you may be tempted to not even clean out your fresh-from-the-dirt bottles — but remember, there may be dead mice and far worse hiding in them.…