Tag: glass
-
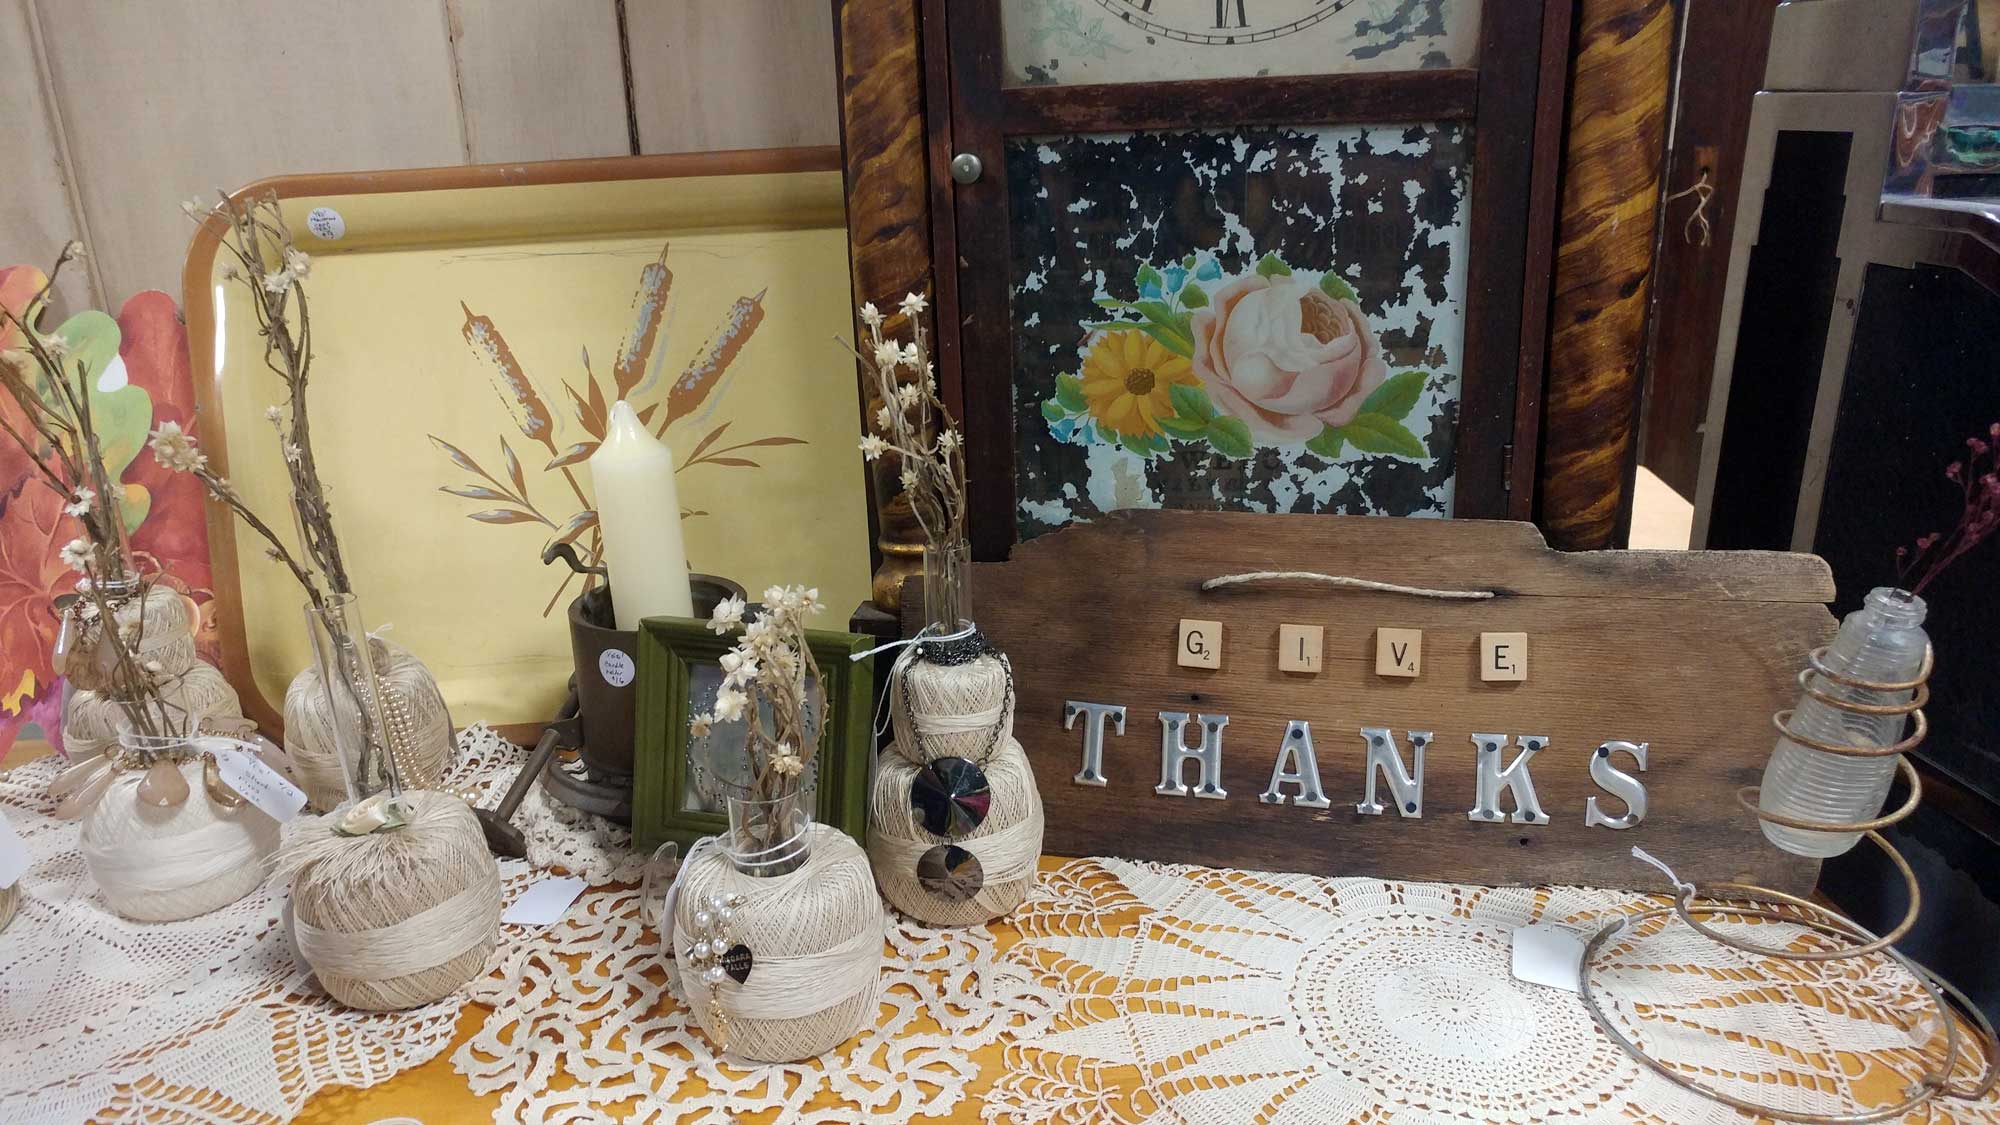
Giving Thanks – & A Little Fall Decor DIY
Looking for something to mix into your Fall decor — something that will work with your country burlap and chicken wire looks as well as it will with more simple styles and even more elegant looks? Perhaps something that will work not only for today but can also work for your Thanksgiving table? Check out…
-
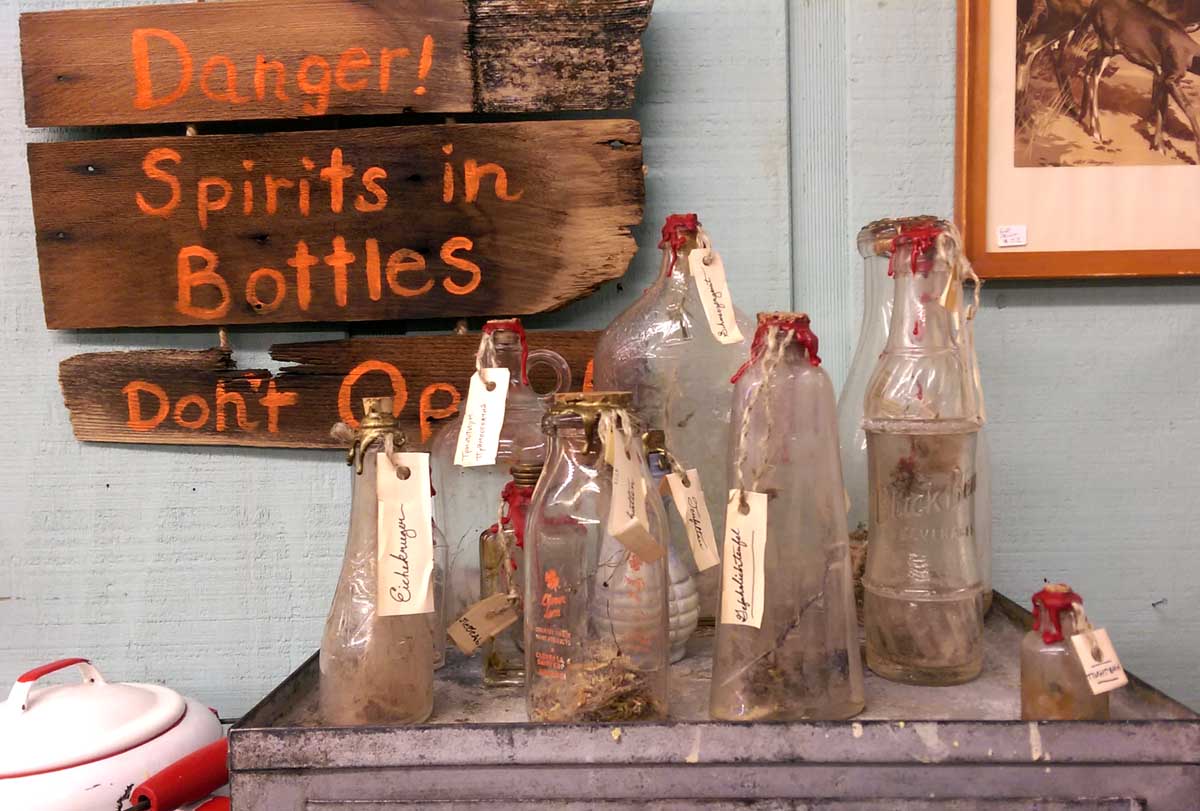
Making Spirit Bottles
There are many stories and legends about trapping spirits or imps in bottles, and they are especially fun to make and display at holiday time. When you see these, you may be tempted to not even clean out your fresh-from-the-dirt bottles — but remember, there may be dead mice and far worse hiding in them.…
-
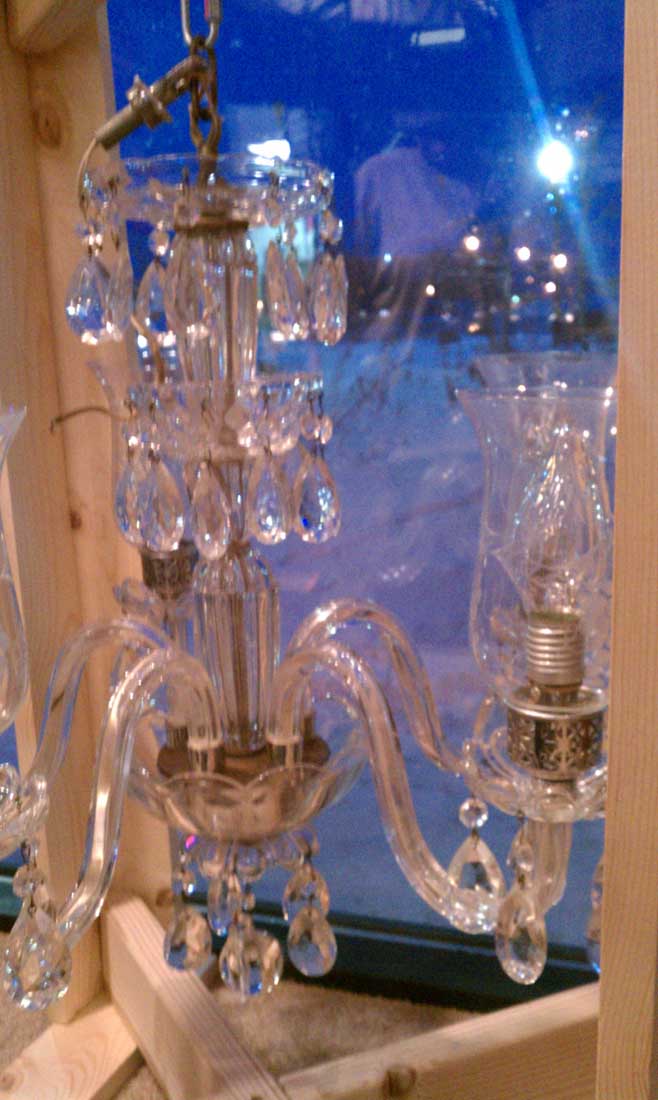
Antique Venetian Glass Chandelier
This is one of our latest — and grandest finds: An antique venetian glass chandelier. This antique fixture is entirely glass (not acrylic), including the arms, the original clear crystal prism drops (with an amazing round crystal ball drop hanging from the center of the bottom), and the hand-blown globes or chimneys are hand-etched with…
-

How Now, Old Brown Milk Bottles
Just some of the old brown glass milk bottles we have available for sale. Like beer bottles, these bottles were made of brown or amber glass to protect the contents from the deterioration of sunlight. Glass milk bottles are not too common; and these amber ones are even more rare. They have neat old dairy…
-
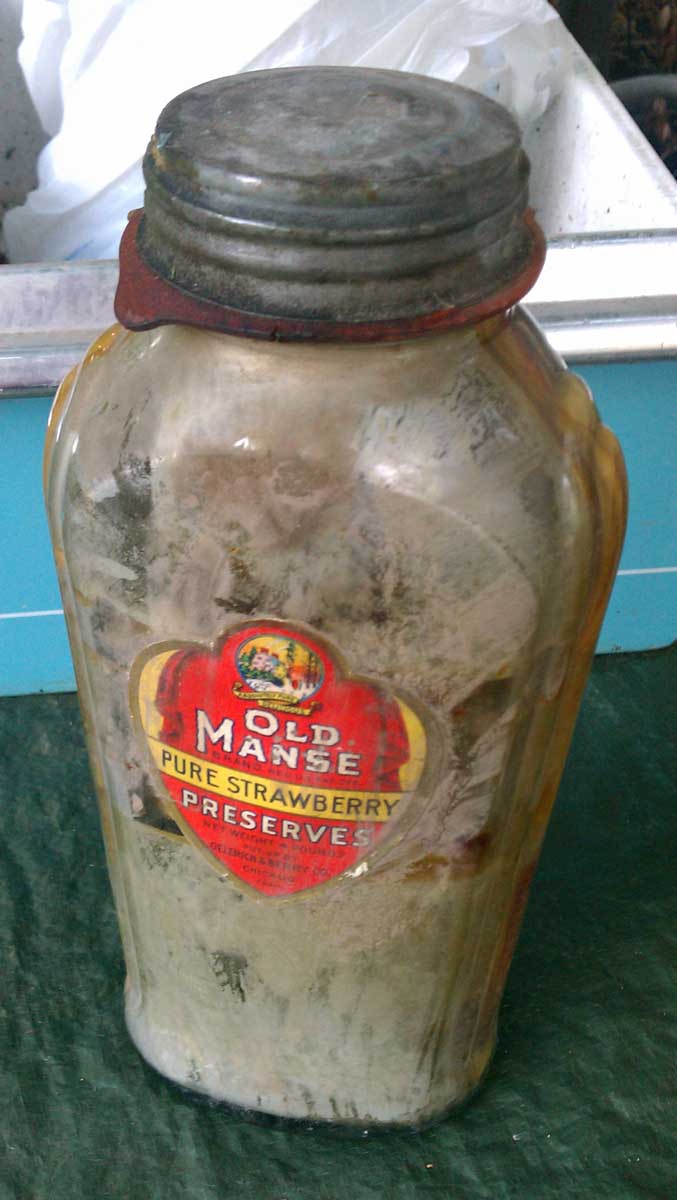
Preserving The Integrity Of An Old Glass Preserves Bottle
Sometimes I fall in love with things — to the point of obsession, or, as the hubby would say, to the point of stupidity. *wink* Today’s example is an old preserves jar. I knew that whatever was in this old glass jar was not a “good thing,” but somehow the metallic silver tone still sparkled…