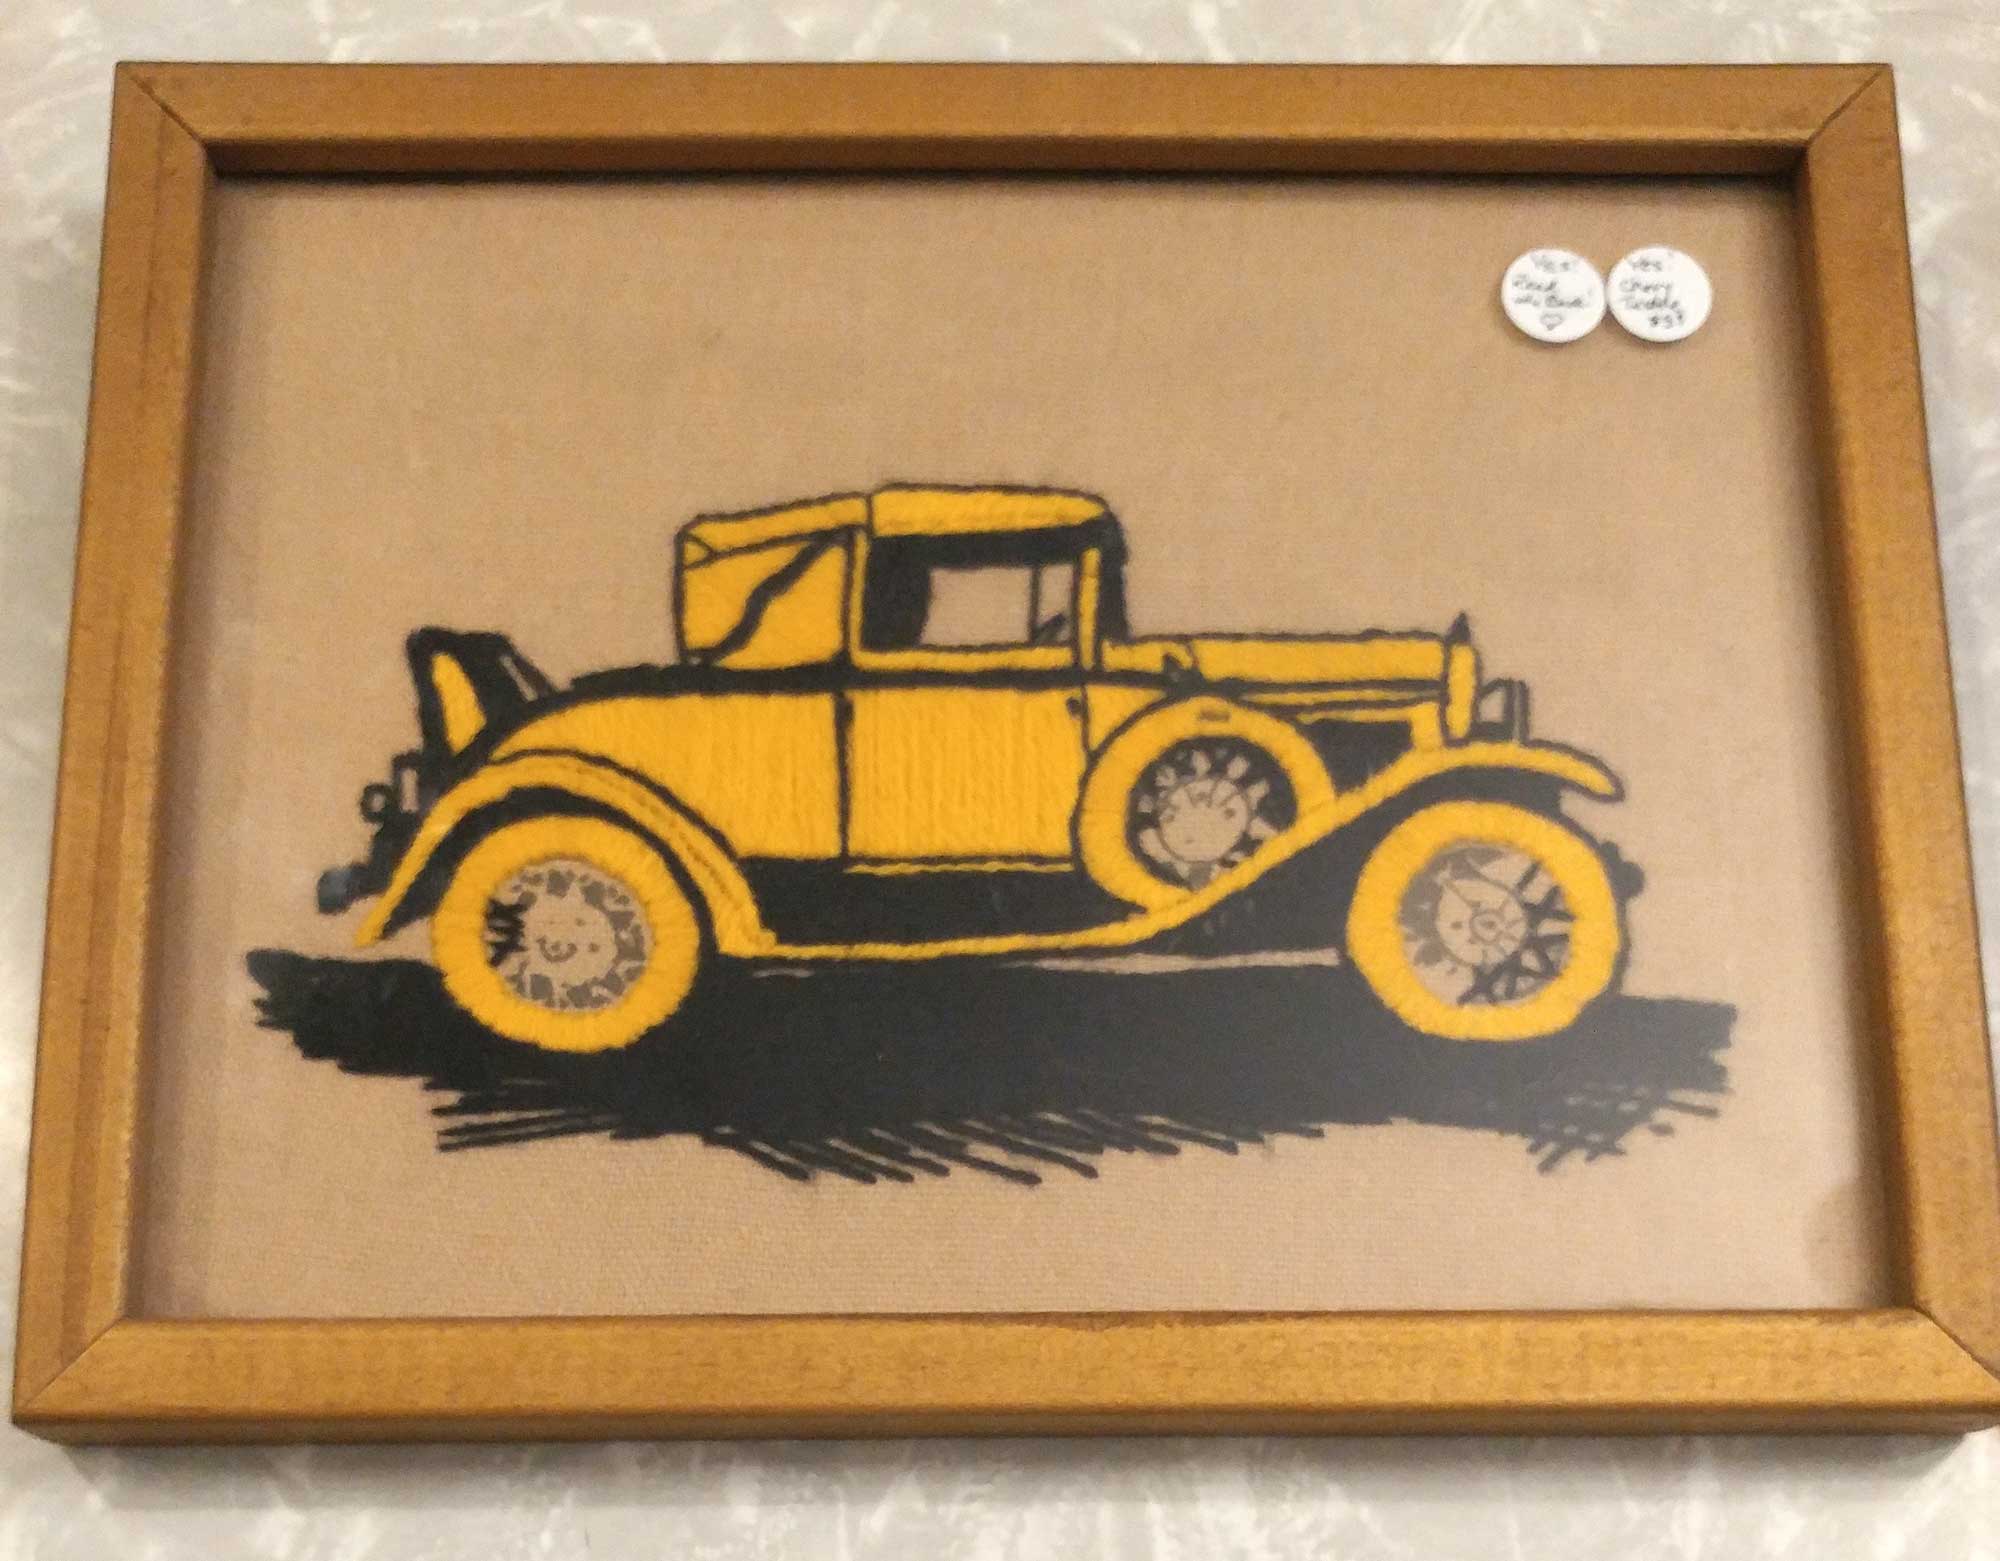
Tag: textiles
-
Flash sale
Flash Sale! 20% off all items in our vintage & retro craft supplies shop, Kindness Of Strangers!
-
Looking Back At Family – Literally
Thanksgiving means time with family, not working. However, in order for the family to be able to eat at the dining room table, one must first clear off all the inventory waiting to be cleaned & priced… So, in today’s endeavor to provide a clean horizontal surface fit for family, I, the wifey, had to…
-
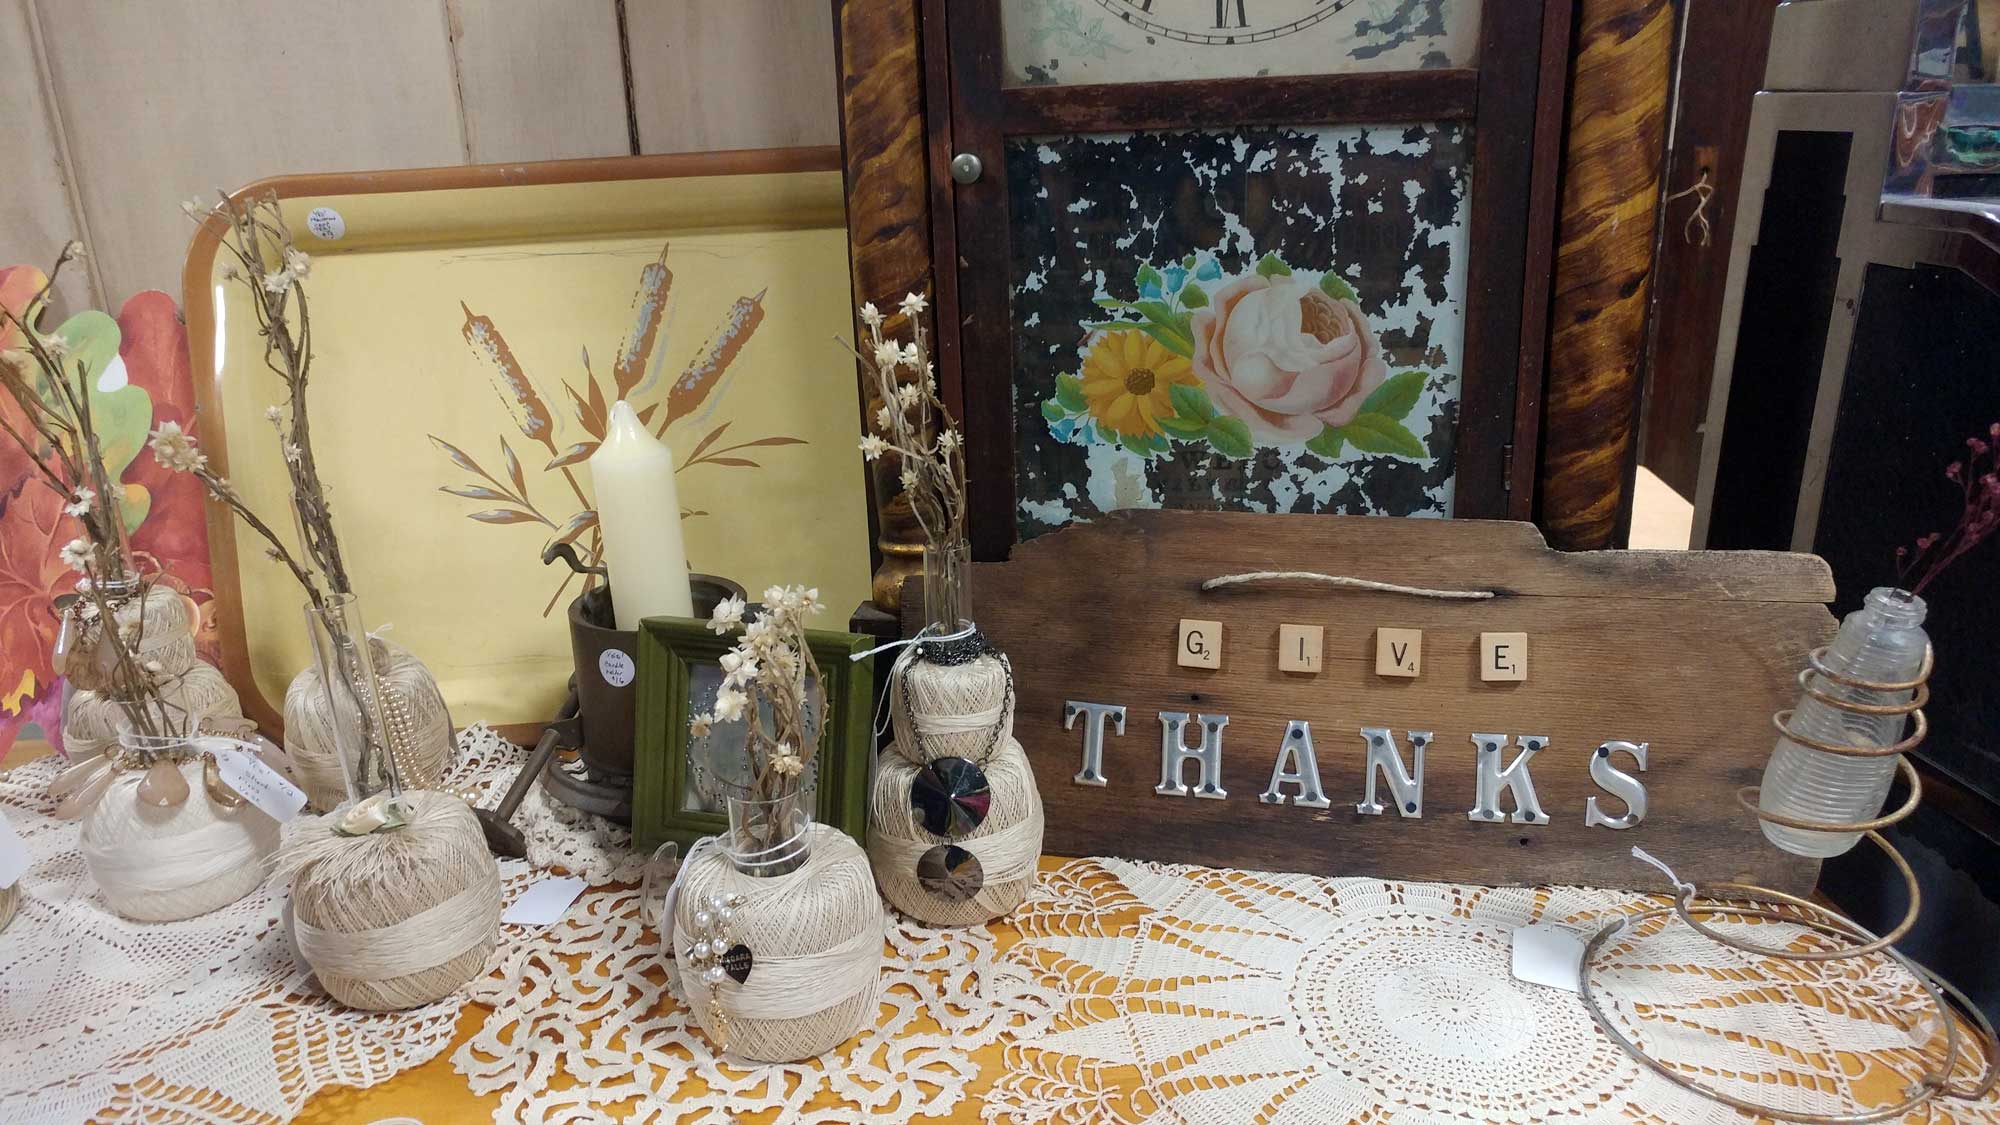
Giving Thanks – & A Little Fall Decor DIY
Looking for something to mix into your Fall decor — something that will work with your country burlap and chicken wire looks as well as it will with more simple styles and even more elegant looks? Perhaps something that will work not only for today but can also work for your Thanksgiving table? Check out…
-
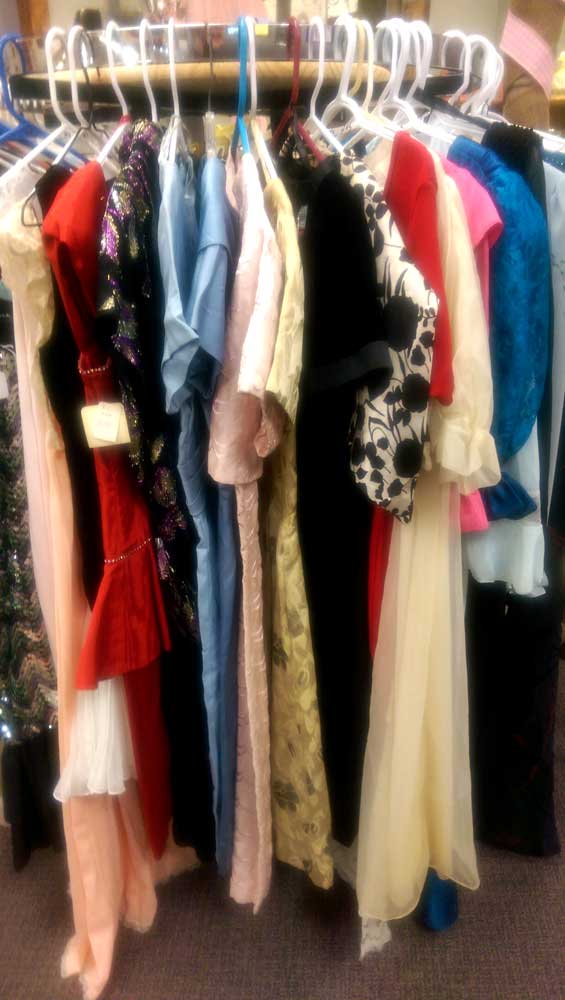
New Vintage Clothing Shop In Fargo-Moorhead!
The Fargo Antiques & Repurposed Market (F.A.R.M.) has expanded, opening a new, second location in the Moorhead Center Mall — and we’ve expanded too, taking another two booths there. You can see a bit of our space in this photo taken for the article about the new location in the July 7, 2016 issue of…
-

In The Mood For Red, White, & Blue
If you’d have seen the wifely lately, you’d know a bit about what we’ve been working on due the color of her hands. *wink* For those of you who haven’t had the pleasure, we’ve just made these pretty (and rather large!) quilt block boards. Each board features a red, white, and blue star quilt block.…
-
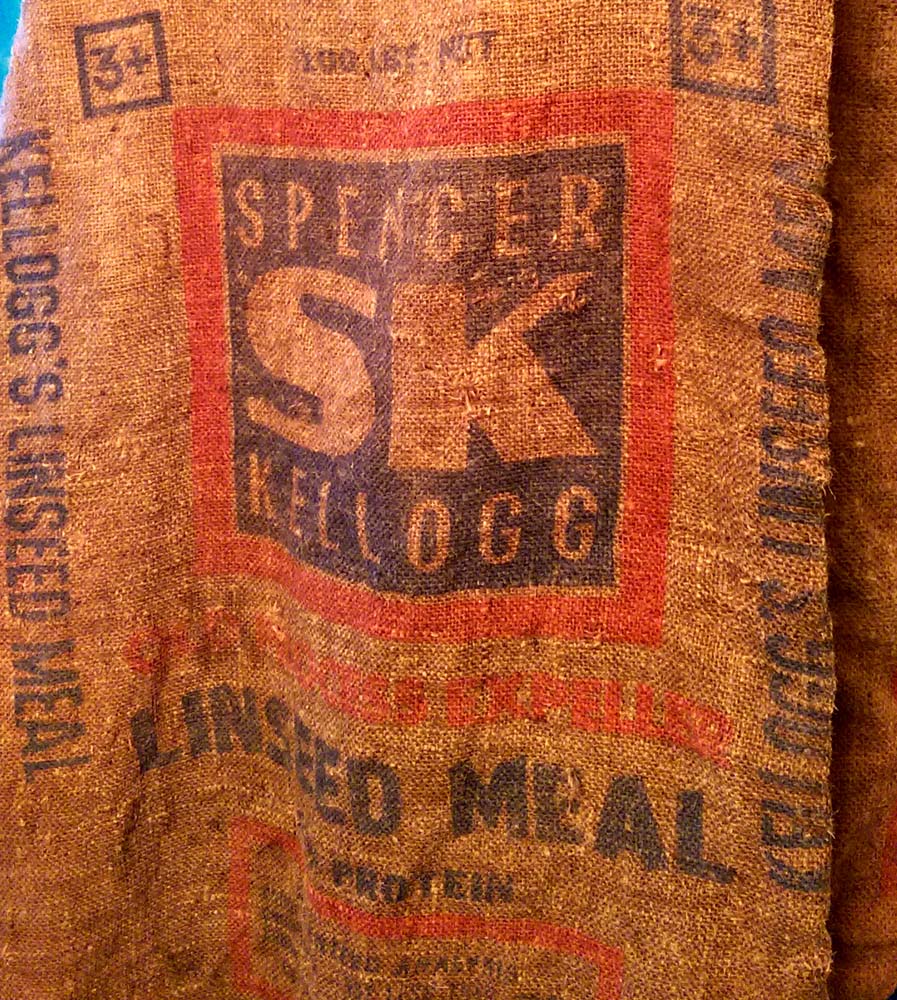
How I Spent My Afternoon: Cleaning Old Feed Sacks (A “How To” Guide!)
As noted before, “farm fresh” is often an oxymoron. Things found in barns are usually anything but fresh. Today’s example, a number of old feed sacks — burlap feed sacks, to be precise. While the graphics can be real beauties, they lie beneath layers & clumps of stuff that is not so beautiful and smells…