Tag: DIY
-
This Week’s Story: Paint By Numbers & Wundertüte
Hi, I’m Deanna Dahlsad of Fair Oaks Antiques, here with This Week’s Story, and I am a paint by number collector. (If you’d prefer, you can listen to the podcast here.) Many mock paint by number paintings, saying the works are kitsch – meaning they are of poor taste. Even those who love kitsch in…
-
Flash sale
Flash Sale! 20% off all items in our vintage & retro craft supplies shop, Kindness Of Strangers!
-
Crafty Quarantine
Given the current situation, the dreaded coronavirus, we’ve seen an explosion in DIY and crafting — including a throw-back to Victorian hobbies, such as scrapbooking. We’re no different; we’ve been putting in a lot more hours in the studio – and not just for custom pieces, but been listing items in our handmade Etsy shop,…
-
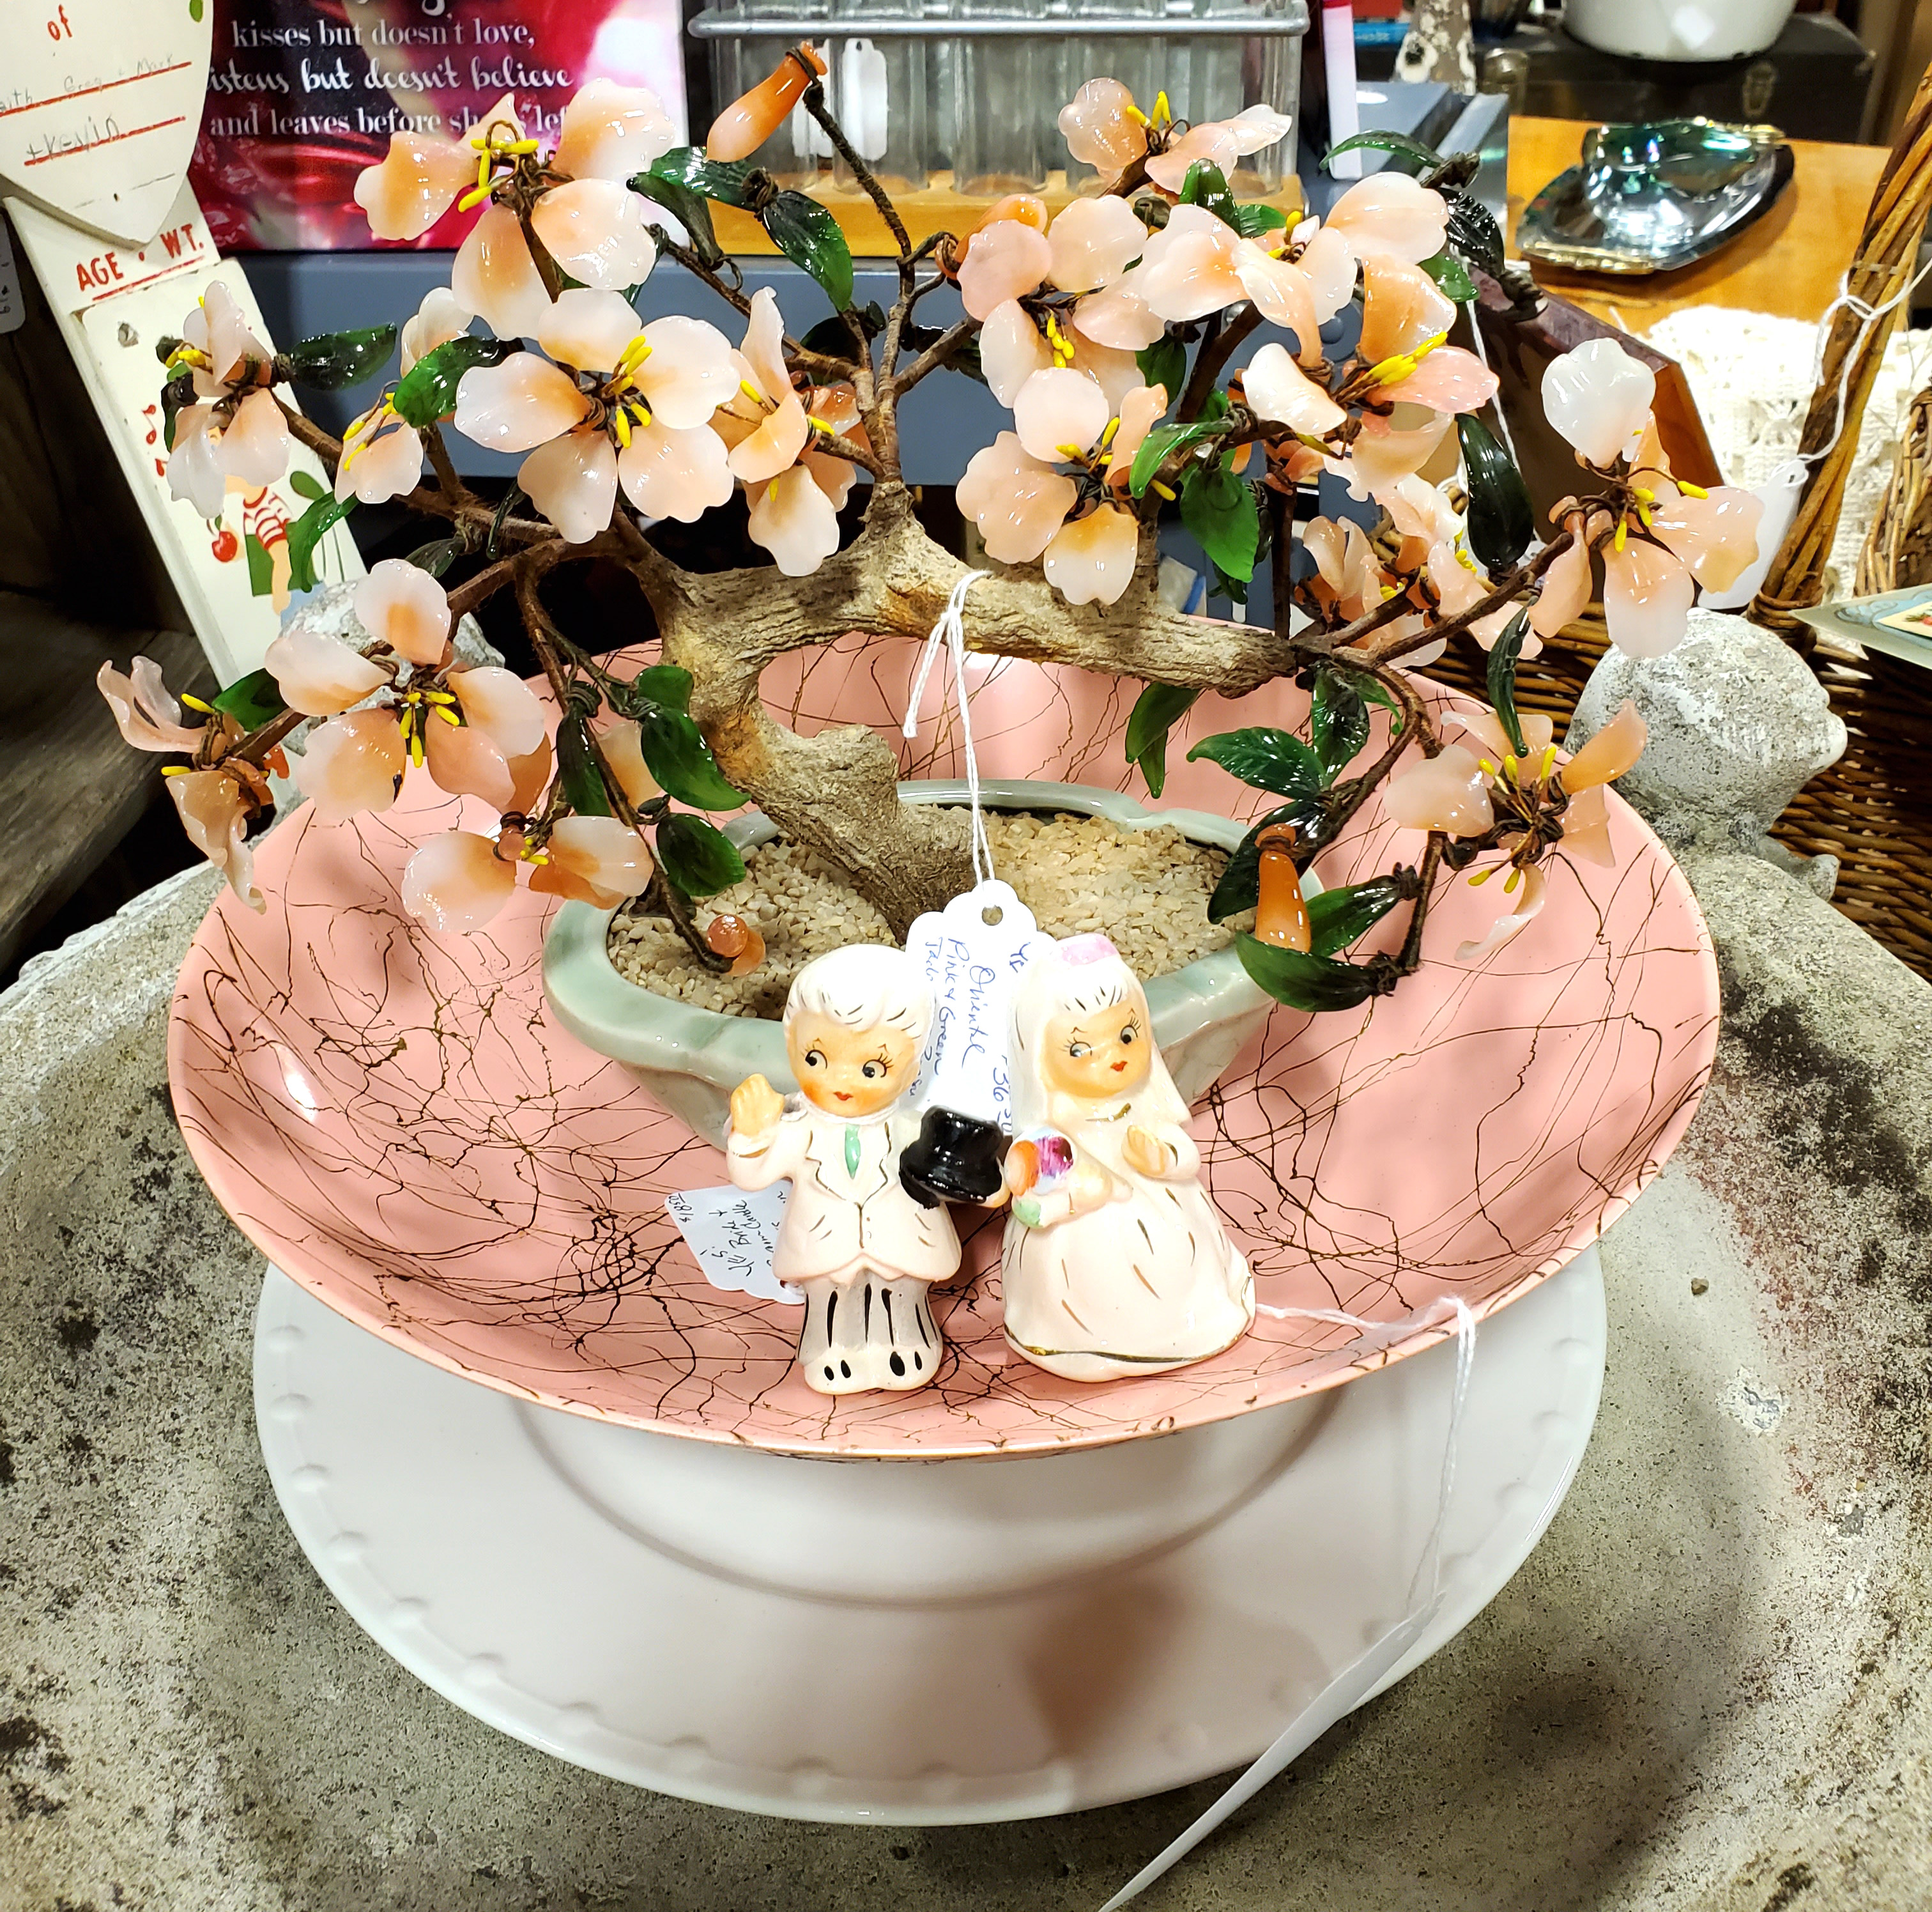
Vintage Romance For The Holiday – & Weddings!
Sure, we are all about the vintage Valentines this time of year – but we are also enjoying the new trend: Valentine’s Day Trees! We call this one the Sweet-Tree For Your Sweetie! (In our space at Fargo Antiques & Repurposed Market; booth #26, dealer code YES.) Also, what can be more romantic than weddings…
-
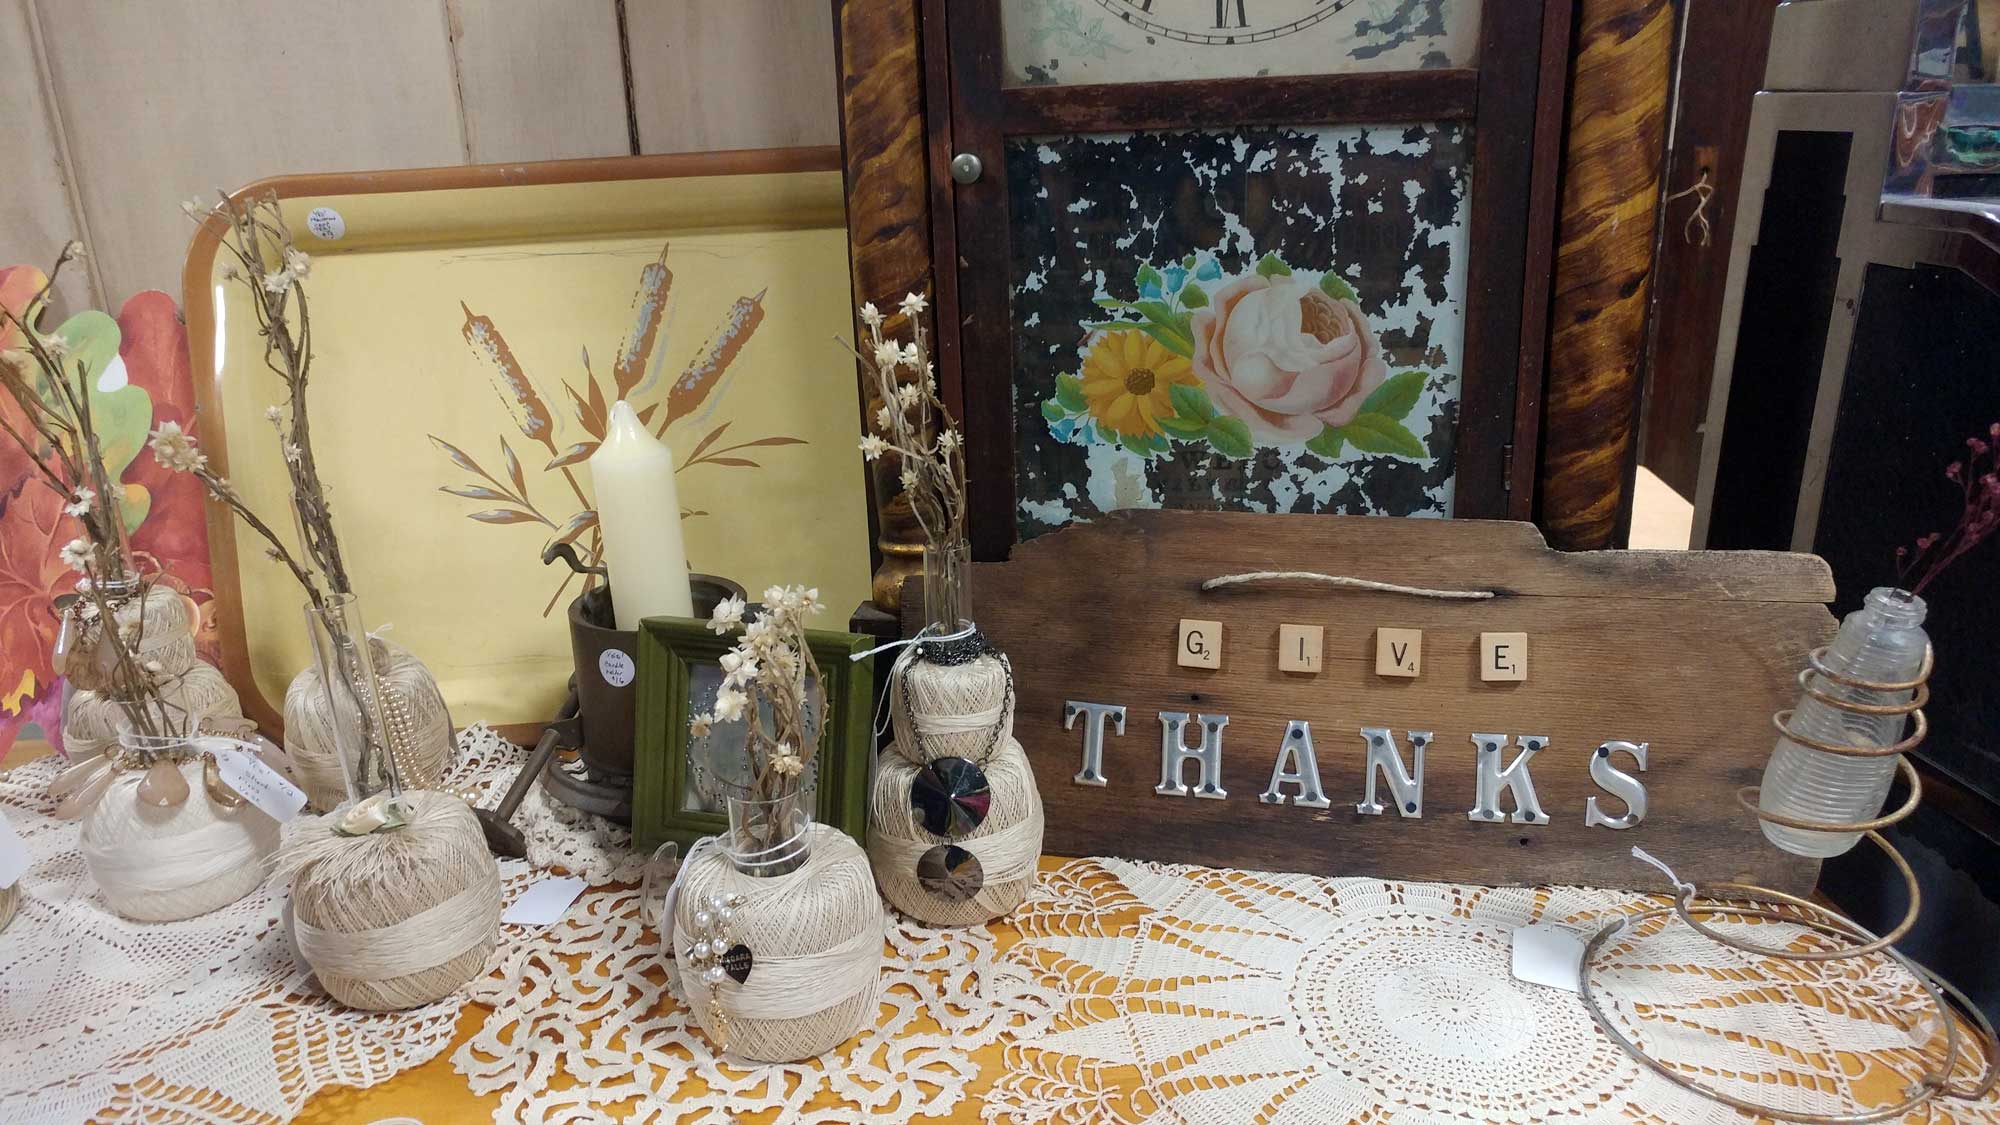
Giving Thanks – & A Little Fall Decor DIY
Looking for something to mix into your Fall decor — something that will work with your country burlap and chicken wire looks as well as it will with more simple styles and even more elegant looks? Perhaps something that will work not only for today but can also work for your Thanksgiving table? Check out…
-

Vintage Suitcase Tables
In our spare time, we’ve been (admittedly slowly!) working on a series of tables made from vintage suitcases. This is the first one we’ve managed to finish and put up for sale. It’s in our space at the Fargo location of F.A.R.M. This one is in shades of vanilla and white. Yes, it opens! Spiffy…
-

Vintage Creativity Featured In Fargo Monthly
Our little Etsy shop, Kindness Of Strangers, which focuses on vintage and retro craft kits, DIY supplies, how to books, and other crestive things was recently featured in Fargo Monthly!
-
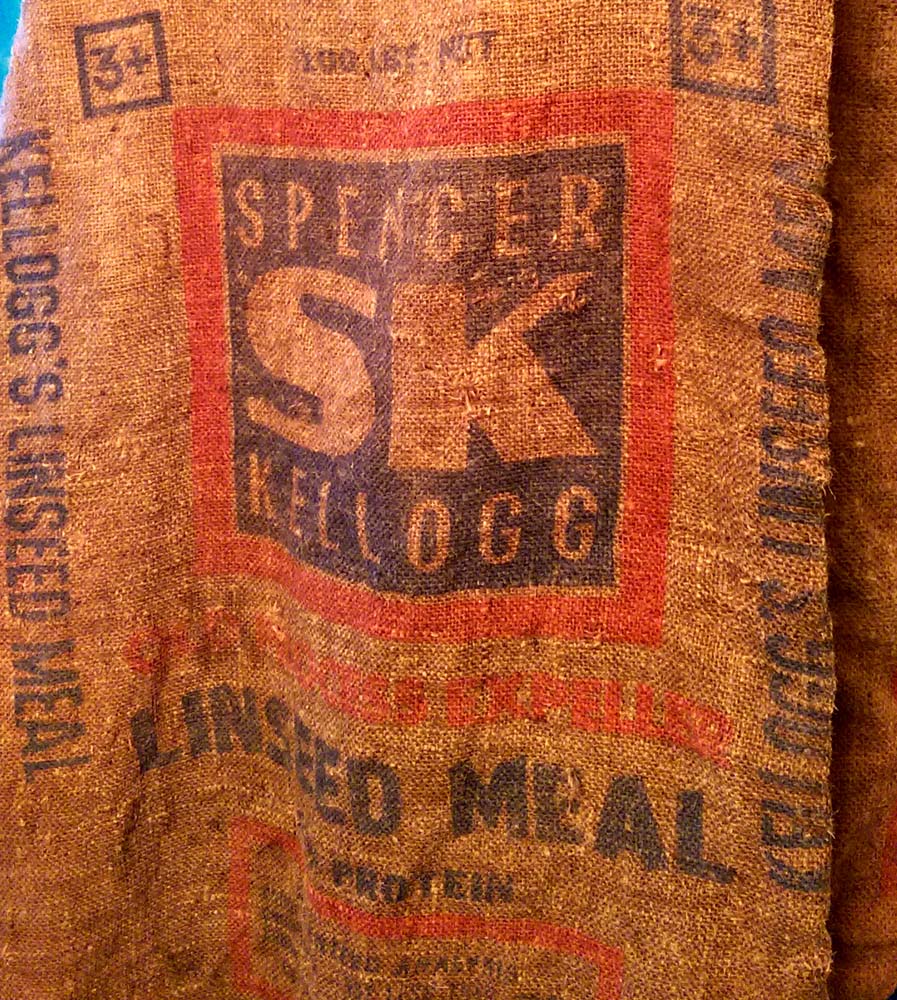
How I Spent My Afternoon: Cleaning Old Feed Sacks (A “How To” Guide!)
As noted before, “farm fresh” is often an oxymoron. Things found in barns are usually anything but fresh. Today’s example, a number of old feed sacks — burlap feed sacks, to be precise. While the graphics can be real beauties, they lie beneath layers & clumps of stuff that is not so beautiful and smells…
-
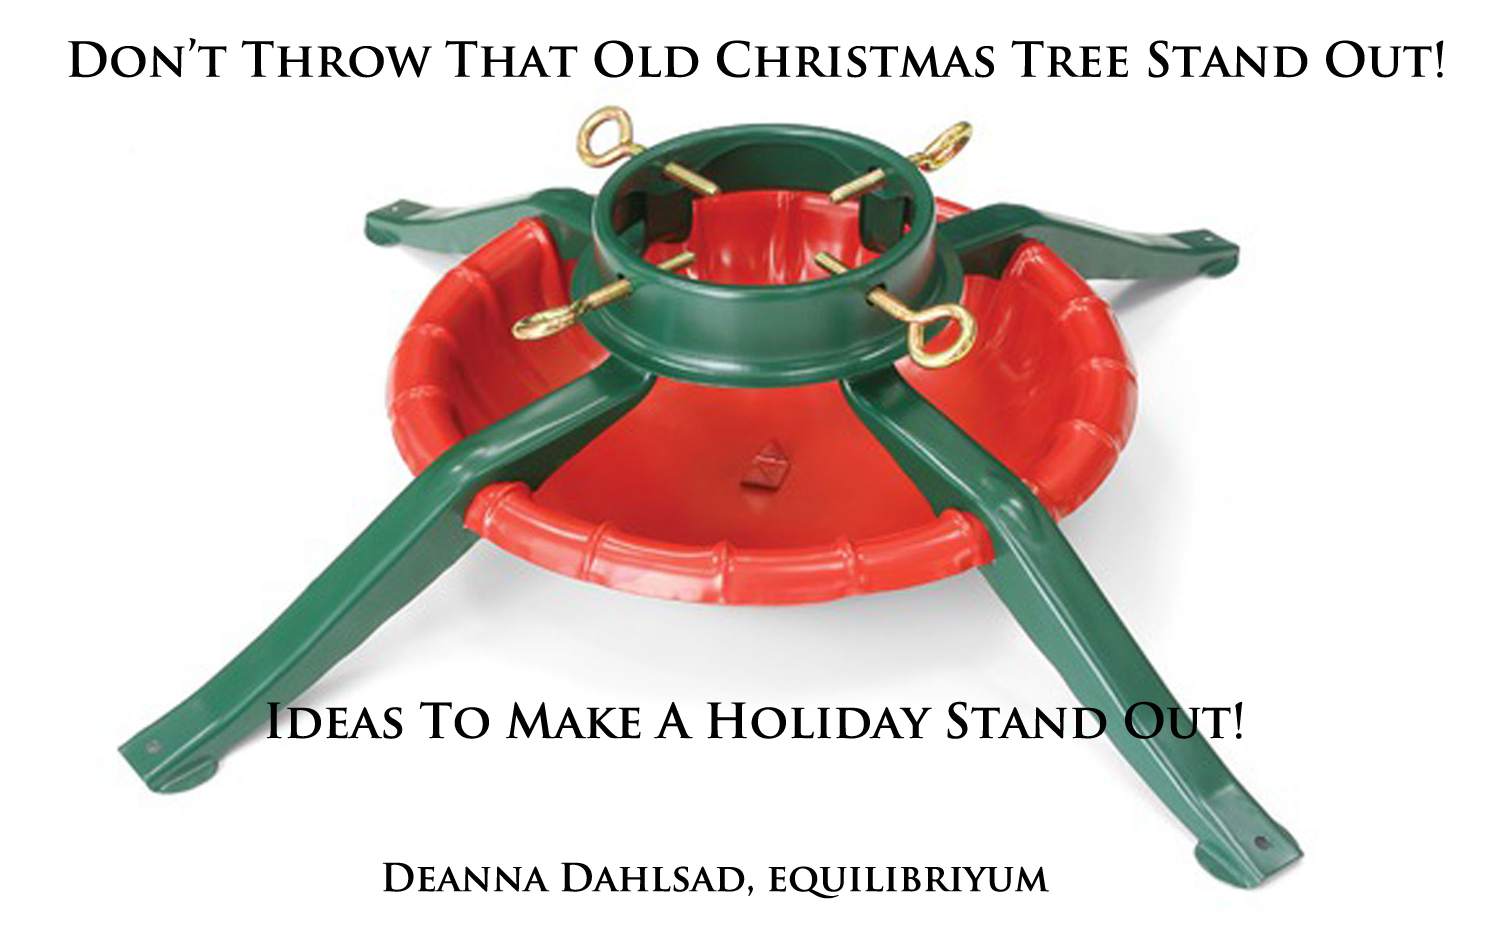
Reuse & Repurpose With Style!
I’ve been busy writing a lot of eBay Guides — my most recent one was inspired by this vintage Christmas tree stand my folks have for sale. I just knew it should be reborn and repurposed as a decorative piece! Other cool ideas and inspiration in that post comes from Laurel of Chipping With Charm.…
-
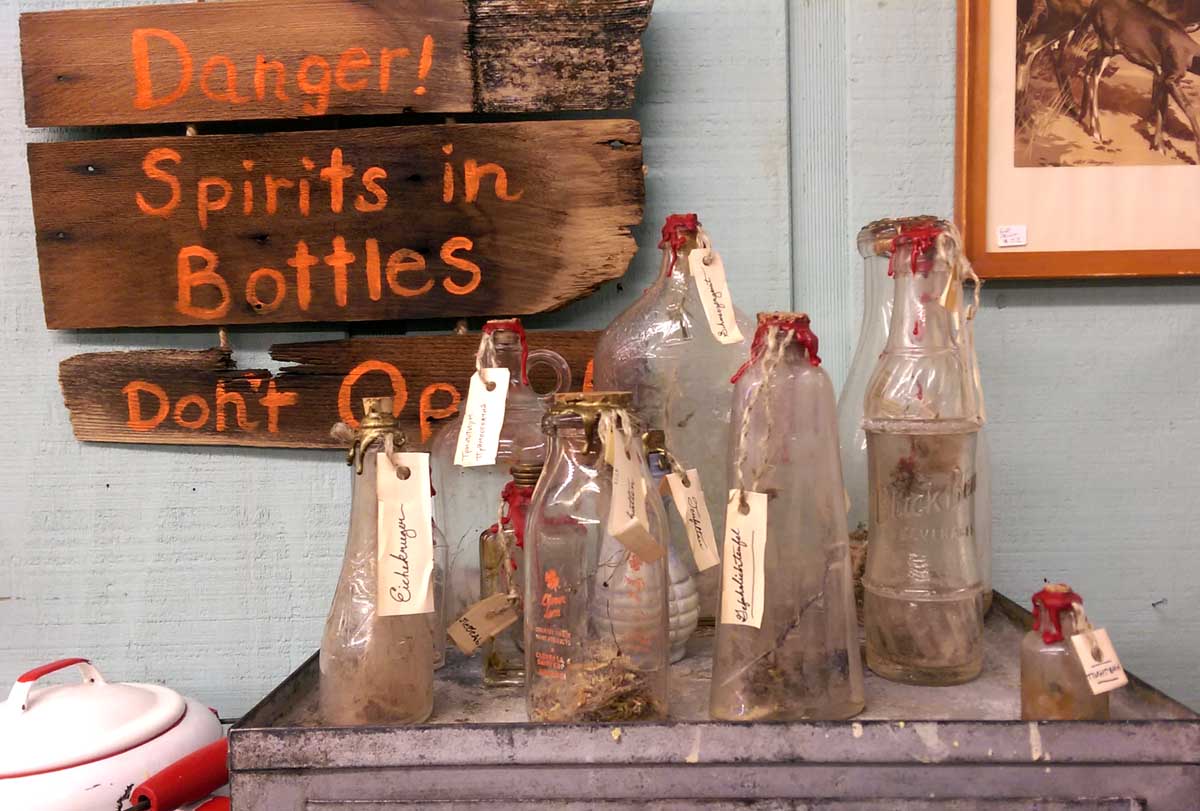
Making Spirit Bottles
There are many stories and legends about trapping spirits or imps in bottles, and they are especially fun to make and display at holiday time. When you see these, you may be tempted to not even clean out your fresh-from-the-dirt bottles — but remember, there may be dead mice and far worse hiding in them.…