Tag: barns
-
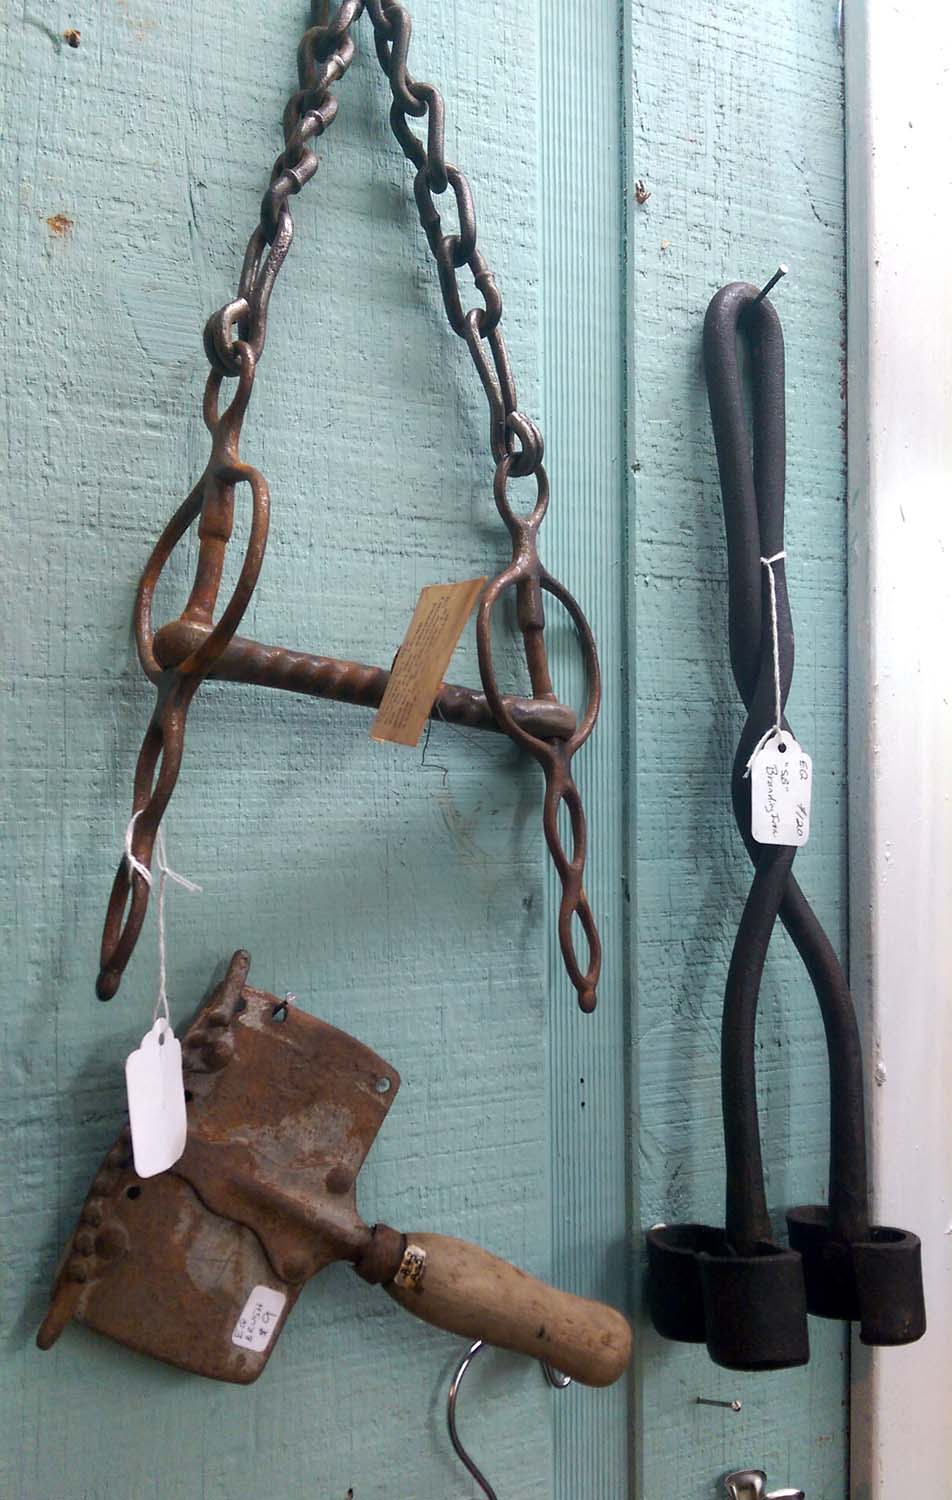
Westward Ho! Antique & Vintage Western Americana
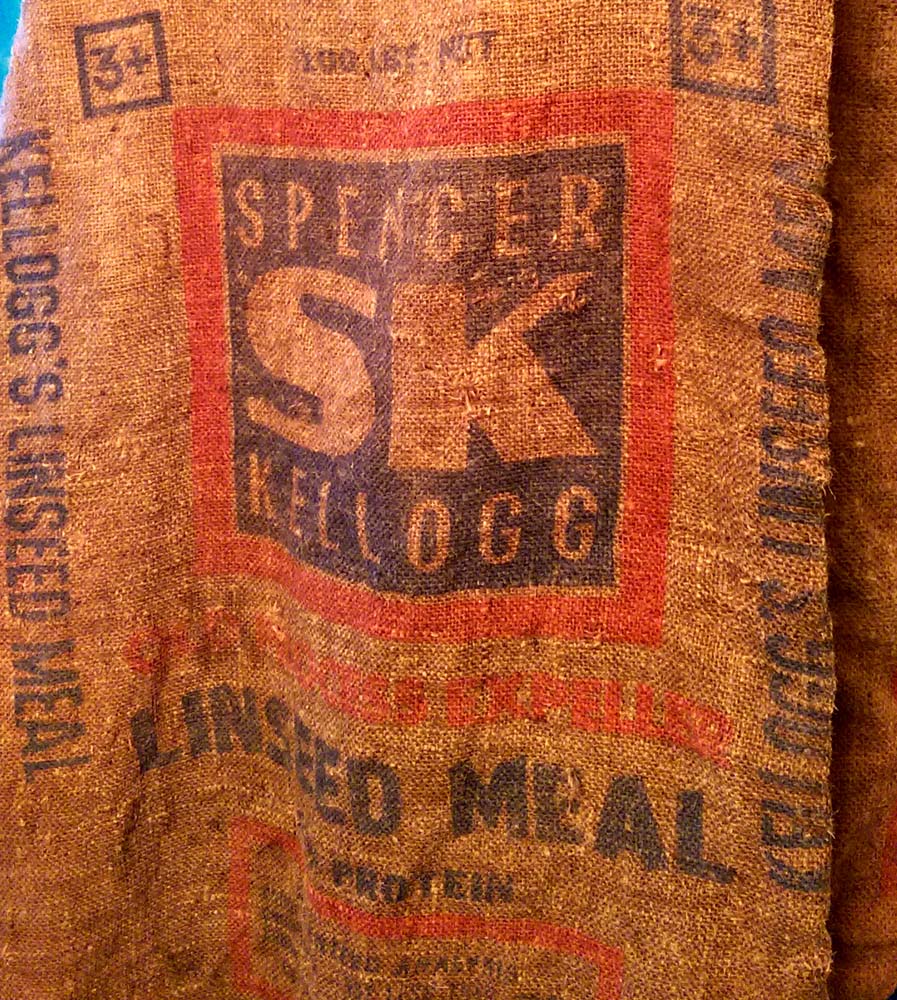
Whoa, Nellie, did we bring in the Western Americana to our space at Exit 55 Antiques! You might recognize the antique burlap feed and seed sacks from this post on how to clean them. (They turned out super, don’t you think?) The old horse bits and antique curry comb were more deaccessioned items from the…
-
How I Spent My Afternoon: Cleaning Old Feed Sacks (A “How To” Guide!)
As noted before, “farm fresh” is often an oxymoron. Things found in barns are usually anything but fresh. Today’s example, a number of old feed sacks — burlap feed sacks, to be precise. While the graphics can be real beauties, they lie beneath layers & clumps of stuff that is not so beautiful and smells…
-
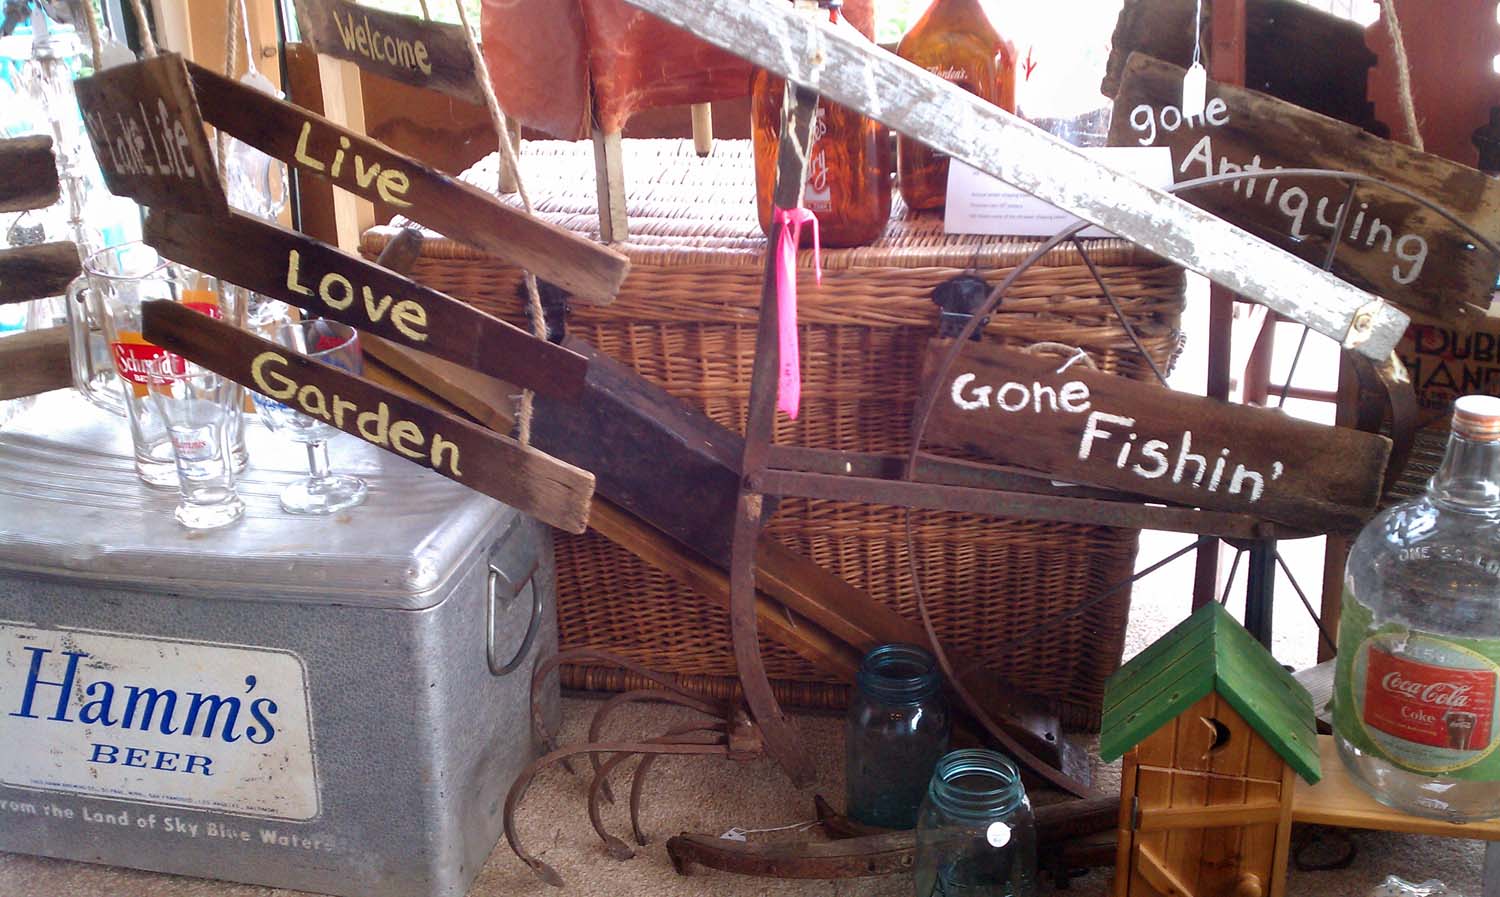
Signs From Antique Wooden Shingles
On a barn pick, I got a rather large box of antique wooden roof shingles. Since there are times one just has to put the piles of supplies to use, I began making a series of classic signs, such as “Gone Fishing”, “Welcome”, and the like. Of course, I had to make a few “Gone…